Friday, September 15, 2006

Heartbreaker's Natural Selection...


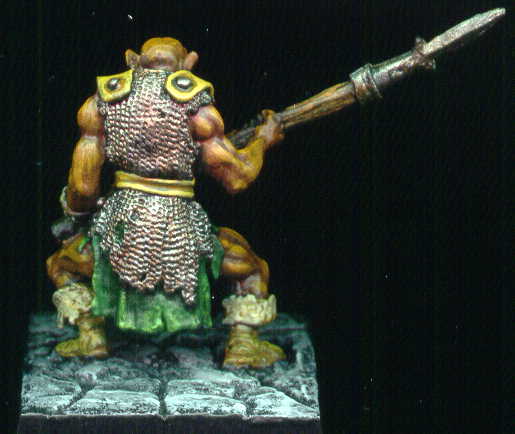
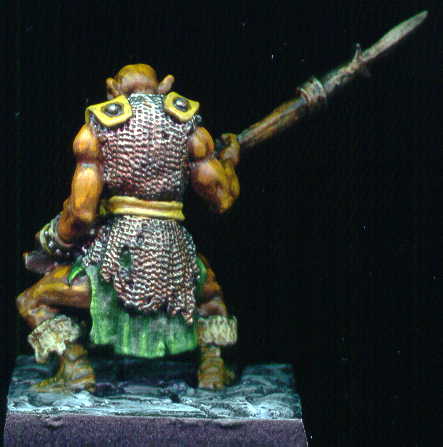
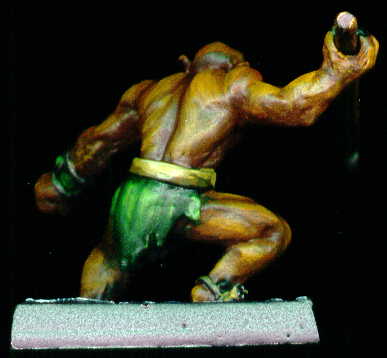
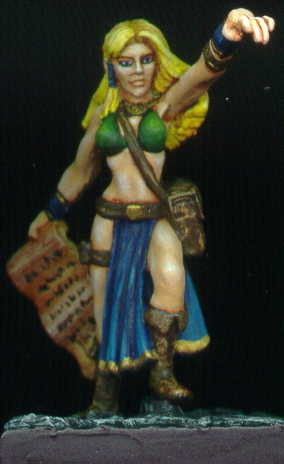
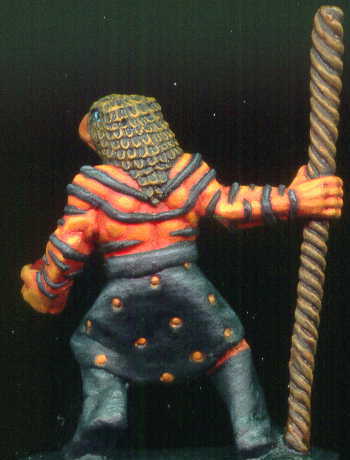
A long time ago a small company called Wizards of the Coast made a card game called Magic The Gathering. In 1994 they worked with Heartbreaker Hobbies to cast miniatures of their Deckmaster cards. I picked up a couple of these old miniatures a long time ago (about four years ago) in the discount bin. I then bought the card off of e-bay and copied the original Mark Poole picture onto the miniature. I've been working on/off this miniature for years - I kept tweaking with the highlighting and as of this weekend I'm declaring it finally finished!

Painting Instructions for Natural Selection (works better in a few hours instead of a few years):
Step 01: Undercoat models with white primer
Step 02: Use Chaos Black on base, staff, skirt, and feathered head
Step 03: Use Blazing Orange on beak
Step 04: Use Blood Red on fur
Step 05: Use Chaos Black on stripes and nails
Step 06: Use Scab Red on ball in hand
Step 07: Use Blazing Orange on fur
Step 08: Use mix of Blazing Orange and Fiery Orange on fur
Step 09: Use Fiery Orange on fur for highlight
Step 10: Use mix of Fiery Orange and Skull White on fur for further highlights
Step 11: Use Golden Yellow - add to mix and perform final highlights - repeat 10 and 11 as needed
Step 12: Use Skull White as chest highlights blending into Fiery Orange
Step 13: Use Scorched Brown on bird feathers and staff
Step 14: Wet drybrush Snakebit Leather onto feathers
Step 15: Mix a bit of Fiery Orange, Skull White, and Snakebite Leather for drybrush highlights on feathers
Step 16: Use Bestial Brown on ridges of staff
Step 17: Use Snakebite Leather on ridges of staff
Step 18: Use Vomit Brown as final highlight on ridges of staff
Step 19: Use Chestnut Ink mixed with 60% water and wash staff
Step 20: Use mix of Chaos Black and Fortress Grey to highlight skirt
Step 21: Use Fortress Grey as final highlight on skirt
Step 22: Use Blood Red as highlight on ball in hand
Step 23: Use Blazing Orange to run a highlight stripe on ball in hand
Step 24: Use Skull White to place dot on top highlight of ball in hand

Wednesday, August 02, 2006

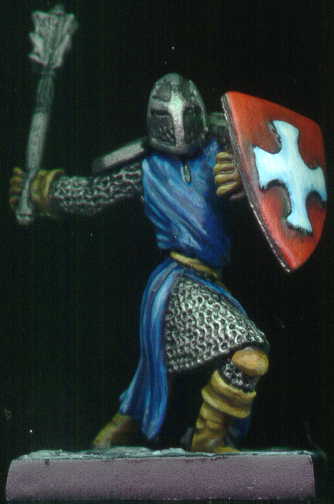
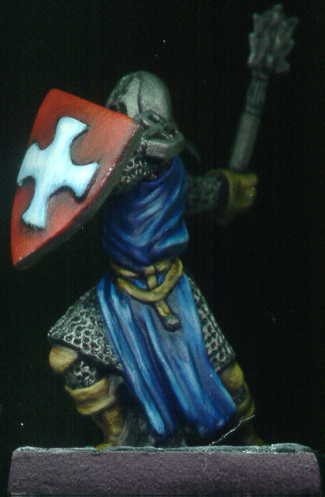
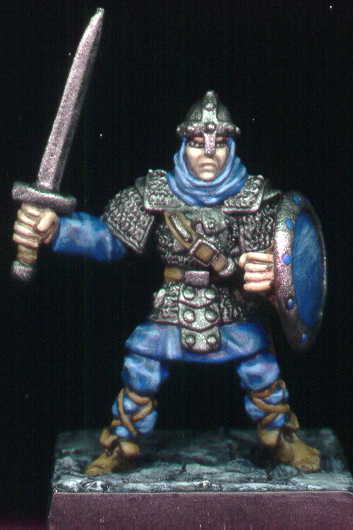
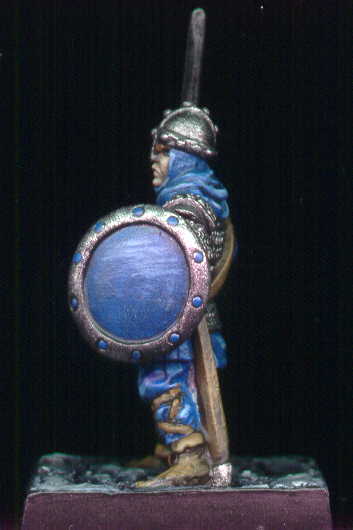
Reaper's Templar Knight - 2330


I finally managed to find some time to paint again. I chose to paint the templar knight because I had already done a similar templar knight from Reaper and could replicate the look while using the first miniature as a guide. I figured doing so would be the easiest way to remember once again how to paint.

I use GW's paints and have always taken good care of them. I've never been away from painting for the amount of time as current and knowing GW's reputation for dried paint due to caps with a faulty design; I was a bit worried. Good news and bad news - I did lose 2 paints - Scab Red and Bestial Brown. However, most of the others all made it through the drought alright. The best were GW's newly designed caps - right before my last stopping point GW had re-released their paints with the new cap design. Those paints made it through looking like day one from the hobby store.
Painting Instructions for Templar Knight:
Step 01: Undercoat model with Black primer
Step 02: Drybrush Boltgun Metal on all chainmail and metal bits
Step 03: Use Regal Blue on robes
Step 04: Use mix of Regal Blus and Ultramarines Blue on robes
Step 05: Use Ultramarines Blue on robes
Step 06: Use mix of Ultramarines Blue and Lightning Blue on robes
Step 07: Use Lightning Blue on robes
Step 08: Use Ice Blue on robes
Step 09: Use Skull White on robes
Step 10: Use Scab Red on shield
Step 11: Use Red Gore on shield
Step 12: Use Blood Red on shield
Step 13: Use Blazing Orange on shield
Step 14: Use Ice Blue on cross on shield
Step 15: Use mix of Ice Blue and Skull White on cross on shield
Step 16: Use Skull White on cross on shield
Step 17: Use Scorched Brown on leather bits
Step 18: Use Bestial Brown on leather bits
Step 19: Use Snakebite Leather on leather bits
Step 20: Use Buboninc Brown on leather bits
Step 21: Use mix of Bubonic Brown and Bleached Bone on leather bits
Step 22: Use Scorched Brown on back of shield
Step 23: Use Bestial Brown to make vertical lines on back of shield
Step 24: Use Vomit Brown to make vertical lines on back of shield
Step 25: Use Bleached Bone to make vertical line on back of shield
Step 26: Use Boltgun Metal around outside of and small line around back of shield
Step 27: Use Tin Bitz on sword pommel
Step 28: Mix Tin Bitx and Boltgun Metal for highlights on sword pommel
Step 29: Use Chainmail on metal highlights
Step 30: Use Mithril Silver as final metal highlights
Step 31: Drybrush Codex Grey on stone
Step 32: Drybrush Fortress Grey on stone
Step 33: Drybrush Skull White on stone

Thursday, February 03, 2005

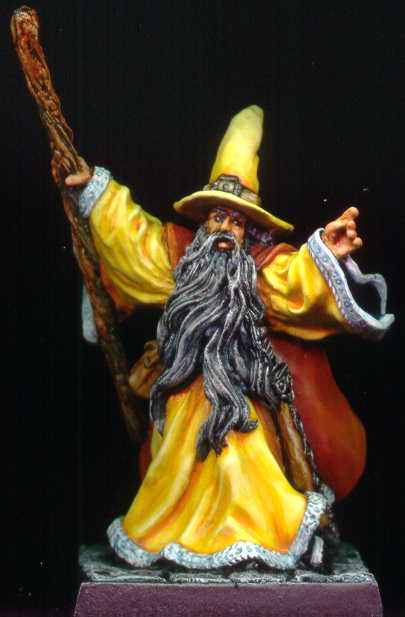
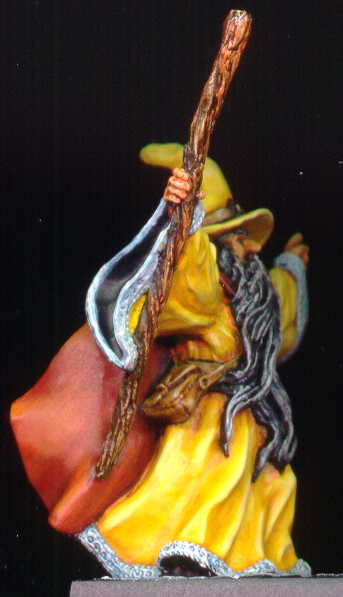
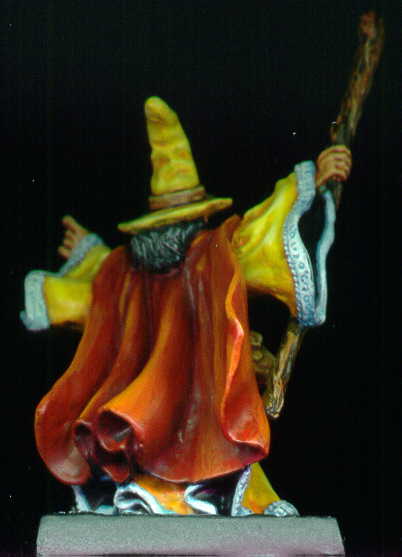
Reaper's Galladon - 2114


This is my longest running paintjob to date - about 2 years in the works. It was a testbed for many techniques and then shelved. I made a resolution to finish him in 2005. Finished in February 2005.

Painting Instructions for Galladin:
Step 01: Undercoat model with Chaos Black
Step 02: Use Fiery Orange on robe
Step 03: Use Golden Yellow on robe
Step 04: Use Sunburst Yellow on robe
Step 05: Use Bad Moon Yellow on robe as first highlights
Step 06: Add Skull White to Bad Moon Yellow on robe as second highlights
Step 07: Add more Skull White to the mix as third highlight on robe
Step 08: Use Scab Red on cloak
Step 09: Use Red Gore on cloak
Step 10: Use Blood Red on cloak
Step 11: Use Blazing Orange on cloak to highlight
Step 12: Use Fiery Orange on cloak to highlight
Step 13: Use Golden Yellow on cloak for final highlight
Step 14: Use Ice Blue on robe trim
Step 15: Drybrush Skull White on robe trim
Step 16: Drybrush heavier bits of Skull White on highlights of robe trim
Step 17: Use Scorched Brown on staff
Step 18: Use Snakebite Leather on staff
Step 19: Use Vomit Brown on staff
Step 20: Heavy drybrush of Bleached Bone on staff
Step 21: Use watered down wash of Chestnut Brown on staff
Step 22: Use Bubonic Brown on all leather - belt, pouch, belt on hat
Step 23: Use watered down Flesh Wash on all leather bits
Step 24: Use Bubonic Brown to highlight all leather bits
Step 25: Use watered down Bleached Bone on all leather bits as highlight
Step 26: Use Boltgun Metal on metal bits
Step 27: Use Skull White on beard
Step 28: Use Bronzed Flesh on face and hands
Step 29: Use watered down Flesh Wash on face and hands
Step 30: Use Bronzed Flesh on face and hands as highlight
Step 31: Use Elf Flesh on face and hands as final highlights

Sunday, January 30, 2005

Reaper's Men At Arms - 6055


Men at Arms - besides Orcs, every campaign needs to battle some evil warriors up to no good. So without further delay - here are 2 in the Reaper Men At Arms 4-pack (2 axe and 2 sword).

Painting Instructions for Men At Arms
Step 01: Undercoat model with Chaos Black
Step 02: Use Boltgun Metal on all metal
Step 03: Drybrush Codex Grey on base
Step 04: Drybrush Fortress Grey on base
Step 05: Drybrush Skull White on base

Saturday, January 15, 2005

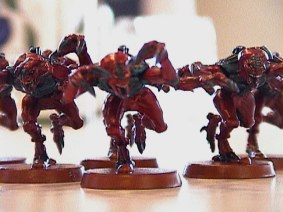
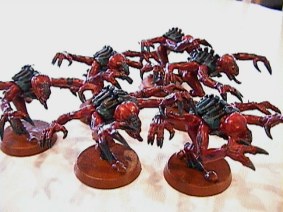
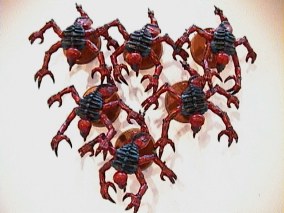
Games-Workshop's Tyranid Genestealers


Tyranid Genestealers for Daniel's 40k game. These were a quick paint - we started out by spray painting the whole lot red. Then did a wash with Blood Red and a highlight drybrushing with Blazing Orange. Then painted all the skel structure with Chaos Black and drybrushed with Hawk Turquoise.

Reaper's Orcs - 6061


More Orcs! Everyone needs more orcs to brighten their day and I thought it would be a good idea to start the year out right by finishing off the orcs sitting on my shelf! Finished in January 2005.

Painting Instructions for Various Reaper Orcs
Step 01: Undercoat models with black primer
Step 02: Use Boltgun Metal on all metal bits
Step 03: Mix some Flesh Wash (2x), a bit of Red Ink a bit of Yellow Ink onto metal bits as a rust affect
Step 04: Lightly drybrush Boltgun Metal on all metal bits
Step 05: Use Dark Flesh on skin
Step 06: Use Vermin Brown to highlight skin
Step 07: Use Leprous Brown as final highlight on skin
Step 08: Use Scorched Brown on wood (including back of shields)
Step 09: Use Bestial Brown as drybrush on wood (line back of shields)
Step 10: Use Vomit Brown as drybrush on wood (highlight line back of shields)
Step 11: Use very light drybrush of Bleached Bone on wood
Step 12: Wash drybrush with Bestial Brown
Step 13: Use Snakebite Leather on leather (leave black lines)
Step 14: Use Bubonic Brown as heavy highlight on leather
Step 15: Use Scab Red on shield
Step 16: Highlight shield with Blood Red
Step 17: Use Boltgun Metal on metal bits of shield
Step 18: Use Chaos Black on sides of base and rocks
Step 19: Drybrush Codex Grey on rocks
Step 20: Drybrush Fortress Grey on rocks
Step 21: Drybrush Skull White on rocks

Saturday, January 08, 2005

Reaper's Orc Warrior of Kargir - 2259


Another orc sitting on the shelf. Finished in January 2005

Painting Instructions for Various Reaper Orcs
Step 01: Undercoat models with black primer
Step 02: Use Boltgun Metal on all metal bits
Step 03: Mix some Flesh Wash (2x), a bit of Red Ink a bit of Yellow Ink onto metal bits as a rust affect
Step 04: Lightly drybrush Boltgun Metal on all metal bits
Step 05: Use Dark Flesh on skin
Step 06: Use Vermin Brown to highlight skin
Step 07: Use Leprous Brown as final highlight on skin
Step 08: Use Scorched Brown on wood (including back of shields)
Step 09: Use Bestial Brown as drybrush on wood (line back of shields)
Step 10: Use Vomit Brown as drybrush on wood (highlight line back of shields)
Step 11: Use very light drybrush of Bleached Bone on wood
Step 12: Wash drybrush with Bestial Brown
Step 13: Use Snakebite Leather on leather (leave black lines)
Step 14: Use Bubonic Brown as heavy highlight on leather
Step 15: Use Scab Red on shield
Step 16: Highlight shield with Blood Red
Step 17: Use Boltgun Metal on metal bits of shield
Step 18: Use Chaos Black on sides of base and rocks
Step 19: Drybrush Codex Grey on rocks
Step 20: Drybrush Fortress Grey on rocks
Step 21: Drybrush Skull White on rocks

Sunday, December 26, 2004

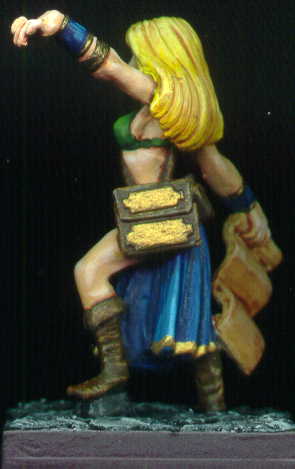
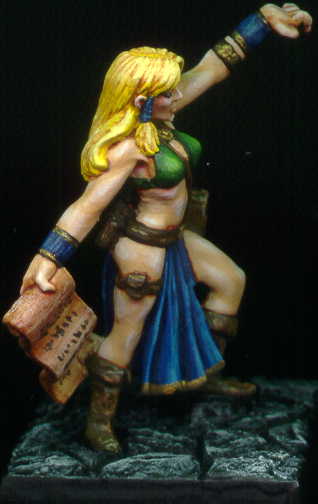
Reaper's Laurana, Sorceress - 2621


It's a good thing we have holiday breaks in November and December as it provides me time to paint! Last model from the paint class with the kids - which I started last winter and just now finished! Finished in December 2004.

Painting Instructions for Luarana
Step 01: Primer in white
Step 02: Use Bronzed Flesh on skin
Step 03: Wash figure with watered down Flesh Wash
Step 04: Use Elf Flesh on main skin portions
Step 05: Use Pallid Flesh as highlights on skin
Step 06: Add Skull White to Pallid Flesh for greater highlights
Step 07: Add more Skull White to mix for final highlights
Step 08: Use Dark Angels Green on bikini
Step 09: Use Snot Green on bikini as highlights
Step 10: Use Scorpion Green on bikini as final highlights
Step 11: Use Regal Blue on skirt
Step 12: Use Enchanted Blue on skirt for highlights
Step 13: Use Lightning Blue on skirt for final highlights
Step 14: Use Scorched Brown on all leather bits
Step 15: Drybrush Snakebite Leather on all leather bits
Step 16: Use Bleached Bone to highlight all leather bits
Step 17: Use Bleached Bone on parchment
Step 18: Wash parchment with Flesh Wash
Step 19: Drybrush Skull White as highlights on parchment
Step 20: Use Chaos Black to make writing marks on parchment
Step 21: Use Bad Moon Yellow on hair
Step 22: Use mix of Skull White and Bad Moon Yellow for hair highlights
Step 23: Add more Skull White to mix for final highlights
Step 24: Use Chaos Black as undercoat for metal bits
Step 25: Use Burnished Gold on metal bits and bottom of skirt
Step 26: Use Chaos Black on base
Step 27: Drybrush Codex Grey on base
Step 28: Drybrush Fortress Grey on base
Step 29: Drybrush Skull White on base

Monday, November 29, 2004

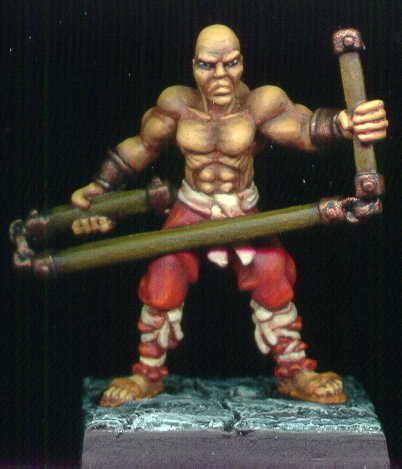
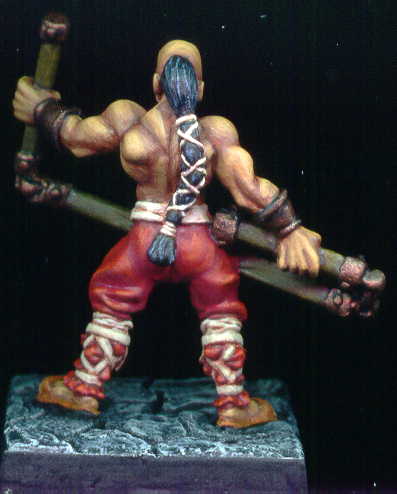
Reaper's Tsuko, Monk - 2512


Many months have passed since the paints have been opened. Painted the monk during a break from "honey do" chores during Thanksgiving weekend. Not bad! Do to the weapon I only scanned front and rear. Finished in November 2004.

Painting Instructions for Monk
Step 01: Use Dark Elf Flesh - watered down - on skin
Step 02: Add a bit of Bronzed Flesh - on skin
Step 03: Add a bit more Bronzed Flesh - on skin
Step 04: Add a bit of Elf Flesh - on skin
Step 05: Use Chaos Black on hair and metal bits
Step 06: Use Scab Red on pants
Step 07: Wash belt and lacings with Dark Flesh
Step 08: Use a mix of Bleached Bone with the wash of Dark Flesh on belt and lacings
Step 09: Use Bleached Bone as highlight on belt and lacings
Step 10: Use Pallid Flesh as final highlight on belt and lacings
Step 11: Use Red Gore and Blood Red mix on pants
Step 12: Highlight pants with Blood Red
Step 13: Final highlight using Blazing Orange
Step 14: Use Scorched Brown on weapon
Step 15: Wet drybrush Snakebite Leather on weapon
Step 16: Vermin Brown on sandals
Step 17: Add a little Bleached Bone for highlight on sandals
Step 18: Use Beaten Copper on metal bits
Step 19: Drybrush Shadow Grey on hair
Step 20: Drybrush Codex Grey on stone
Step 21: Drybrush Fortress Grey on stone
Step 22: Drybrush Skull White on stone

Sunday, March 21, 2004

Reaper's Ghost - 2314


Staying with the spirit theme we have ghost - although not many ghosts have bones. Another quick layering job starting out with Liche Purple. Finished March 2004.

Painting Instructions for Ghost
Step 01: Undercoat with black primer
Step 02: Use Liche Purple on robes
Step 03: Use mix of Liche Purple and Warlock Purple robes
Step 04: Use Warlock Purple on robes
Step 05: Use mix of Warlock Purple and Tentacle Pink on robes
Step 06: Use Tentacle Pink on robes
Step 07: Use Scorched Brown on ropes, bag and bones
Step 08: Use Vomit Brown on bones
Step 09: Use Bleached Bone on bones
Step 10: Use Snakebite Leather on ropes and bag
Step 11: Use Bleached Bone on ropes and bag
Step 12: Use wash of Snakebite Leather over ropes and bag
Step 13: Use Tin Bitz on chain
Step 14: Use Dwarf Bronze on chain
Step 15: Use Burnished Gold on chain
Step 16: Drybrush Codex Grey on base
Step 17: Drybrush Fortress Grey on base
Step 18: Drybrush Skull White on base and just a bit highlights on bones

Reaper's Ghost with Sword - 2363


Last spirit for now - this one with a sword. Again a quick paint (about 2 hours) in the red range. The reds I always find difficult to work with. Used Golden Yellow as a highlight. Finished March 2004.

Painting Instructions for Ghost with Sword
Step 01: Undercoat model with black primer
Step 02: Use Scab Red on robe
Step 03: Use Red Gore on robe
Step 04: Use Blood Red on robe highlights
Step 05: Use Golden Yellow on robe final highlights
Step 06: Use Scorched Brown on bones
Step 07: Use Vomit Brown on bones
Step 08: Use Bleached Bone on bones
Step 09: Drybrush Boltgun Metal on sword
Step 10: Wash sword with mix of Flesh Wash and Yellow Ink
Step 11: Drybrush Codex Grey on base and hair
Step 12: Drybrush Fortress Grey on base and hair
Step 13: Drybrush Skull White on base and hair

Sunday, March 14, 2004

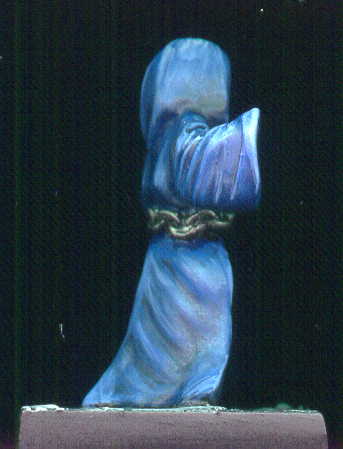
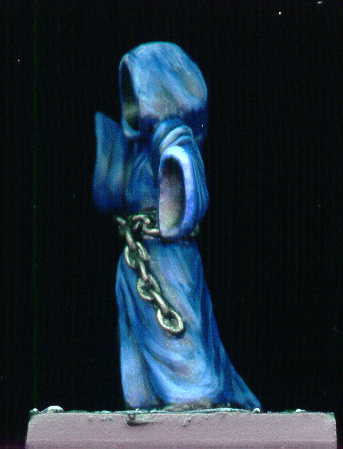
Reaper's Spirits - 2214


The first of two spirits in the pack. This was a fun, quick, and dirty job of layering from dark to light blue over a black basecoat. Finished March 2004.

Painting Instructions for Spirits#1
Step 01: Undercoat with black
Step 02: Use Regal Blue on robe
Step 03: Use mix of Regal Blue and Ultramarine Blue
Step 04: Use Ultramarine Blue
Step 05: Use mix of Ultramarine Blue and Skull White
Step 06: Add more Skull White to mix for final highlights
Step 07: Use Boltgun Metal on chain
Step 08: Drybrush Codex Grey on base
Step 09: Drybrush Fortress Grey on base
Step 10: Drybrush Skull White on base


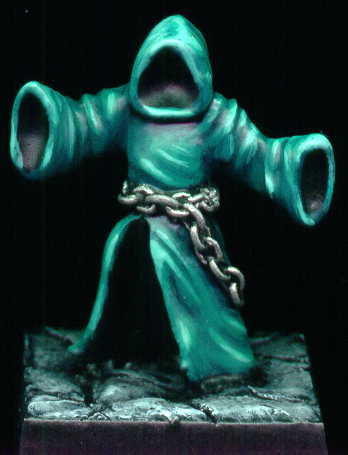
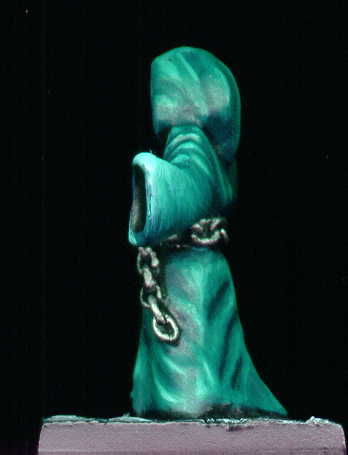
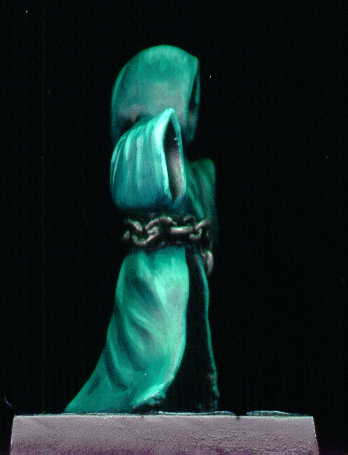
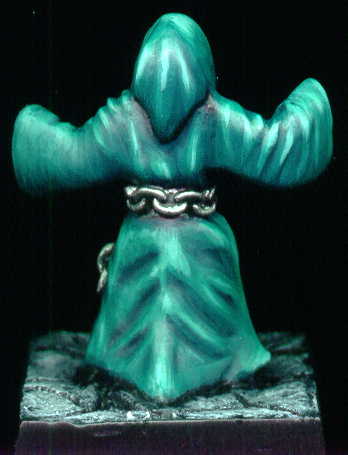
The second of two spirits in the pack. This was a fun, quick, and dirty job of layering from dark to light green over a black basecoat. Finished March 2004.


Painting Instructions for Spirit#2
Step 01: Undercoat model with black primer
Step 02: Use Scaly Green
Step 03: Use mix of Scaly Green and Jade Green
Step 04: Use Jade Green to start highlights
Step 05: Use mix of Jade Green and Vile Green for highlights
Step 06: Add Skull White to mix and highlight again
Step 07: Add another bit of Skull White to mix for final highlights
Step 08: Use Chainmail on chain
Step 09: Use Chaos Black on base
Step 10: Drybrush Codex Grey on base
Step 11: Drybrush Fortress Grey on base
Step 12: Drybrush Skull White on base

Sunday, February 22, 2004

Reaper's Man at Arms - 6023


An example model for the painting class for kids. This was painted using Reaper paints and brushes and following the instructions in the learn to paint kit #1.

Finished February 2004.