Thursday, June 13, 2019

Reaper Miniatures Stone Lurker - 77227


Back to the Bones pile... this one is the Stone Lurker which is just a ball of fun to put together and paint.  It's these monster figures where once again the Bones line delivers terrific value - the bigger monster models look great (you can't tell the difference) and it's about a quarter of the price at $3.99 versus $14.49 for the metal version.

I added a bit of smaller stalagmites to the base to show "legs" on the model.

Painting instructions for Stone Lurker (used my Vallejo Game Color)...

Step 1: I'm using Stynylrez primer on the bones models - just slop it on and cover everything - it works great!
Step 2: Use Bronze Flesh on the stalagmite bits
Step 3: Mix Dead White with Bronze Flesh and drybrush on the stalagmite bits
Step 4: Mix more Dead White with Bronze Flesh and drybrush highlights on stalagmite bits
Step 5: Use watered down Scarlett Red and add the final Bronze Flesh highlight as a watered down mix - dab around the creases and the nodules where the tentacles attach to the main stalagmite
Step 6: Use Scarlett Red on the eyeball
Step 7: Use Hot Orange and cover 80% of eyeball
Step 8: Use Gold Yellow and cover 80% of the previous orange
Step 9: Use Black to generate a cat's eye pupil
Step 10: Use Black on base and rock
Step 11: Drybrush Cold Grey on rock
Step 12: Drybrush Stonewall Grey on rock
Step 13: Drybrush Dead White on rock

Kickstarter paint total: 125 + 1 Stone Lurker = 126


Sunday, June 09, 2019

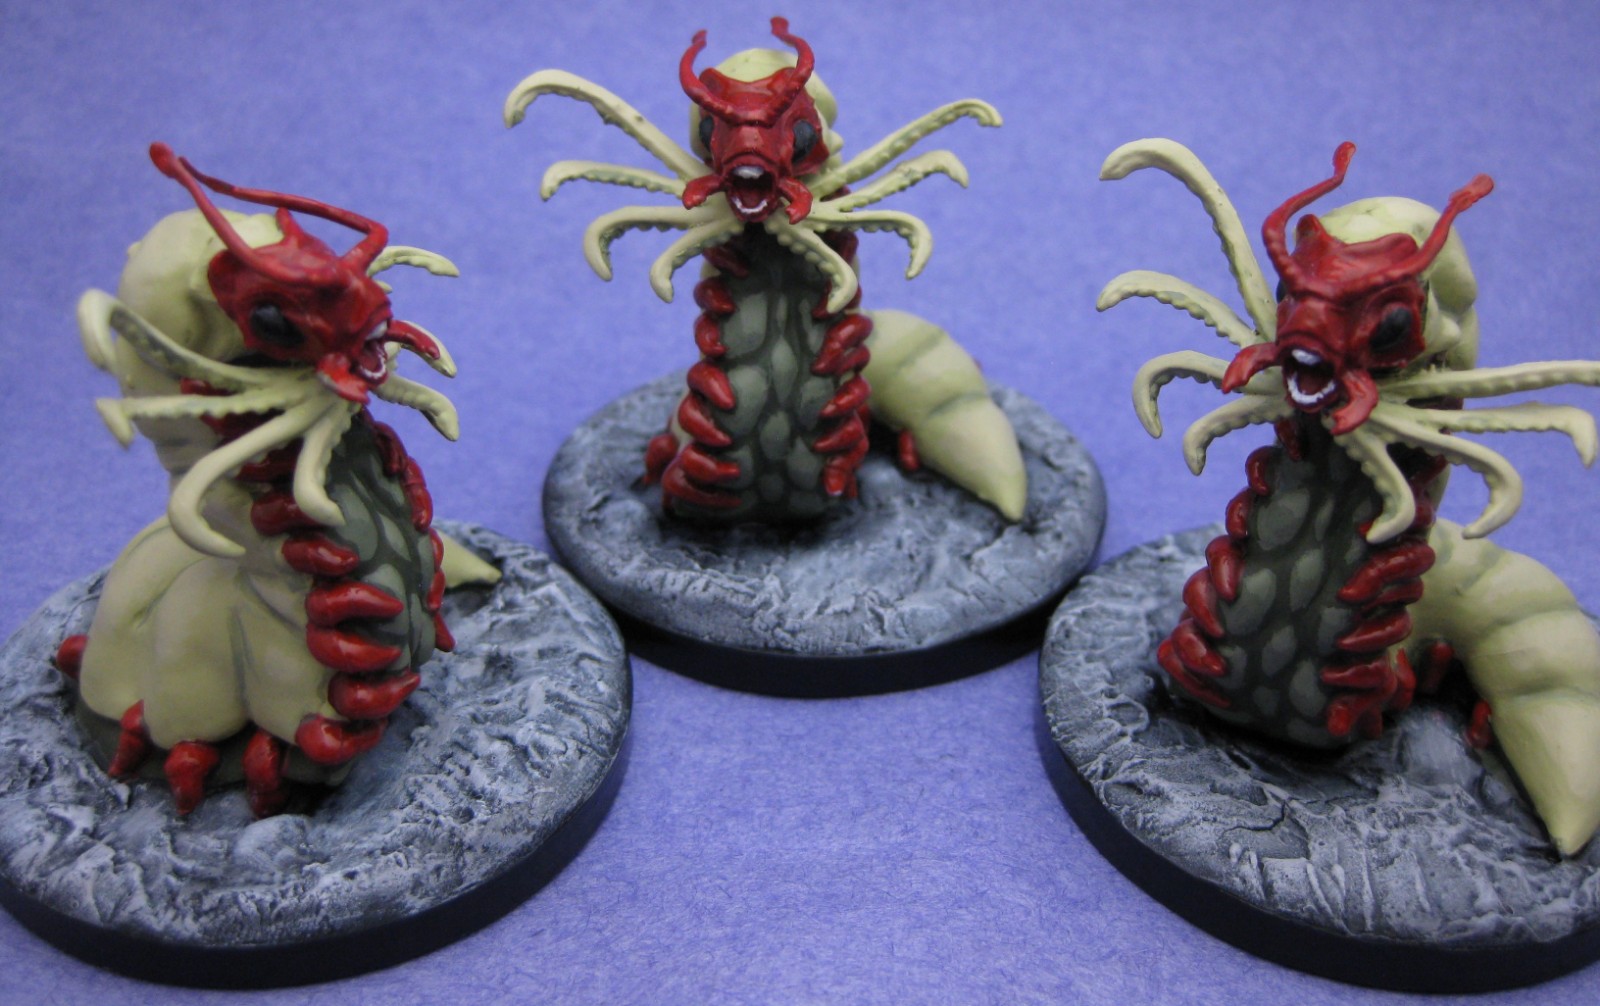
WizKids Carrion Crawler - WZK73535


More WizKids officially licensed Dungeons and Dragons miniatures - this one comes from their Nolzur's Marvelous Miniatures line.  Again, being officially licensed, the sculpt jumps straight from the pages of the monster manual.

Painting instructions for Carrion Crawler (used my Vallejo Game Color)...

Step 1: No need to primer - already done
Step 2: Use Cayman Green on the front belly
Step 3: Use Dead Flesh on the backside
Step 4: Use Gory Red on head and legs
Step 5: Use Blood Red as highlight on head and legs
Step 6: Mix Rotting Flesh with Cayman Green for highlights on the front belly
Step 7: Add more Rotting Flesh to the mix for final highlights on the front belly
Step 8: Water down mix and use to shade indentions on the backside
Step 9: Mix Pale Flesh with Rotting Flesh to add highlights on backside
Step 10: Use Black on base, rock and eyeballs
Step 11: Drybrush Cold Grey on rock
Step 12: Drybrush Stonewall Grey on rock
Step 13: Drybrush Dead White on rock

Again, would be nice to know the sculpto Wizkids.


Tuesday, June 04, 2019

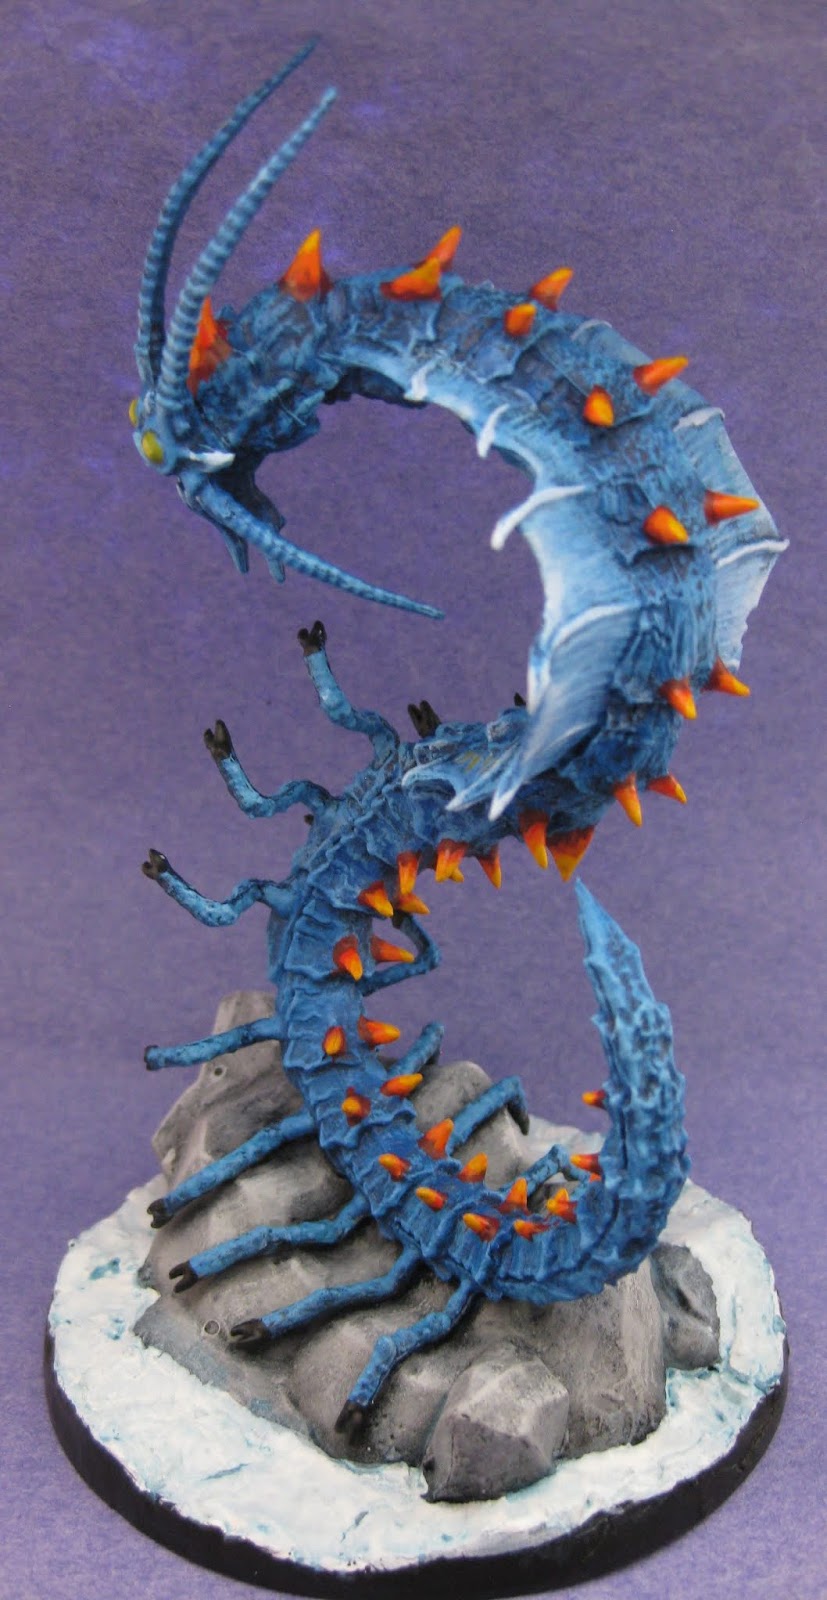
WizKids Adult Remorhaz - WZK73393


Wow - I'm just in love with WizKids officially licensed Dungeons and Dragons miniatures - this one comes from their Nolzur's Marvelous Miniatures line.  The previous Reaper Miniatures cat I just finished is about as tiny as a sculpt I can paint and this huge miniature from WizKids tips the other end of the scale at three inches wide and almost six inches tall.  What a beautiful sculpt and an awesome model which will strike terror in the hearts of your player's when you drop this beast on them whenever they're adventuring in the cold.  No need to invent anything new here, I just copied the paint schema on the box.

Painting instructions for Remorhaz (used my Vallejo Game Color)...

Step 1: No need to primer - already done
Step 2: Use Night Blue as a basecoat over the entire model
Step 3: Drybrush Magic Blue over the entire model
Step 4: Drybrush Electric Blue as highlights
Step 5: Drybrush Ice Blue as highlights
Step 6: Wash using watered down Magic Blue over the entire model
Step 7: Pick out highlights with Ice Blue
Step 8: Use Gory Red on the spine
Step 9: Use Hot Orange on the spine
Step 10: Use Orange Fire on the spine
Step 11: Use Gold Yellow on the spine
Step 12: Use Camo Green on eyes
Step 13: Mix Camo Green and Sun Yellow on eyes for highlights - add a bit more Sun Yellow for final highlights
Step 14: Use final mix of Camo Green and Sun Yellow as highlights on fins
Step 15: Use Black on rock and claws
Step 16: Drybrush Cold Grey on rock
Step 17: Drybrush Stonewall Grey on rock
Step 18: Drybrush Dead White on rock
Step 19: Use Dead White on snow base
Step 20: Use watered down Electric Blue on base

Wizkids needs to credit the sculptor.


Monday, June 03, 2019

Reaper Miniatures Red Mantis Assassin - 89042


I give a lot of praise to the Bones figures - particularly the monsters - how good they are and particularly their value.  This is a figure where that's not so much.  The metal version is $5.99 retail whereas the Bones version is $3.99 retail.  So $2 savings each.  If you're going to do a one off or even two and you want to put on a great paint job, then go with the metal - the metal version has awesome detail that unfortunately doesn't translate well into the Bones material - maybe it will be better in the new Bones Black.

For these, I just wanted a table ready group of assassins I could throw at my party as a dangerous encounter - for when they get a bit mouthy and boastful around the city.  Therefore I hit these with Gory Red, followed with Black for the eyes and a bit of Chainmail Silver on the sword - called it done.

Another group of bones models out of the kickstarter pile - so up goes the count...

Kickstarter paint total: 121 + 4 Assassins = 125


Sunday, June 02, 2019

Reaper Miniatures Familiar Pack I - 2018


Now for something really really small.  Just like the previous familiars pack ii, these bits of metal are very tiny.  However, I needed a cat miniature for one of my players whose cat familiar always appeared to be in the right place at the right time without a miniature representing placement.  I asked what type of cat and the request was for a calico cat - so I looked at a few pictures and painted this one up.

For reference - this is the metal version of the same cat, but in bones, that I used on my Halloween Tree.


Saturday, June 01, 2019

Spiritual Weapon


In the fifth edition of Dungeons and Dragons the cleric throws out the spiritual weapon spell quite a bit as it's a bonus action and a very effective part of the cleric's offensive abilities.  So I went into my bits and found a hammer appropriate for a dwarf's spiritual weapon - I think this came from a sprue that was part of the bonus bits to Reaper Miniatures Bones 3 Kickstarter.

Drilled a hole into it using a pin drill.  Then used a paperclip to glue it in and bring the hammer onto the base.  I bent the bottom of the paperclip into a circle and then glued it down using superglue.  Covered that with drywall compound which gives the base a nice solid weight to the miniature.

I wanted to paint the hammer as if it resonated with spiritual energy and the Vallejo Game Color Bronze Fleshtone has that earthy yellow look I was going for without being too yellow.  I then added a bit of Dead White did some drybrushing, added a bit more Dead White to the mix and another drybrush - did that a few times until I was happy.  Then I used a very watered down Gold Yellow to give the entire hammer a wash.  Followed that up by adding even more Dead White to the mix and did some edge highlighting around the hammer head, the bolts, and the top of the straps.

As to the paperclip post...  I thought about maybe black, maybe white, maybe some shade of the hammer's color and couldn't make a decision - therefore it's unpainted.

There you have it - much better than moving around an empty base as the spiritual weapon.


Thursday, May 30, 2019

Reaper Miniatures Earth Elemental - 2250


I've noted before that I don't always agree with the end result of Reaper's goal for a particular model - and while Sandra Garrity really knocked it out of the park with this sculpt, it looks more troll-like than it does elemental.  In the 5th edition of D&D a new troll is published in Mordenkainen's Tome of Foes called the Rot Troll.  I think this model fits brilliantly in that new roll - particularly that it gives necrotic damage on its attacks and therefore the graveyard look is perfect - so I designated it my version of a Rot Troll and I can't wait to drop this nasty beast on my party of do-gooders!

My last model I noted nothing could be easier than a few layers of metallic drybrushing - hmmm.... this might have actually been easier.  I used a wash technique which is something I do very little of but I kept using layer after layer until I achieved the effect desired.

This is the metal version for which I don't see a bones version of at this time.  As such, it's a nice heavy model and has quite the thud when you put this one on the game mat.

Painting instructions for Earth Elemental / Rot Troll (used my Vallejo Game Color)...

Step 1: Undercoat model with black primer
Step 2: Paint entire model with Bronze Flesh
Step 3: Make a heavily watered down wash of Cayman Green - let dry - repeat many times
Step 4: Use Sombre Grey on gravestone
Step 5: Use Bonewhite on skull
Step 6: Highlight skull with Dead White


Friday, April 26, 2019

Reaper Miniatures Brass Bull - 77256


This is a fantastic sculpt by Bob Olley and Kevin Williams of the "brass bull" - what's historically called a Gorgon in Dungeons and Dragons which many would say misrepresents - the Gorgon in greek mythology is a female with snakes for hair and can turn those who gazed upon her into stone with Medusa being the most famous of the three sisters.  How Gary Gygax made the leap to a bull whose breath turns creatures to stone is a bit of a stretch - the concept is cool, but something other than Gorgon name would have been great.

Bad name or not, this is a really cool model and another great utilization of the bones product line - retails for $5.99 while the metal version is quite the hunk and has a hunky price tag of $18.99.  The size of this model is such that there is little detail loss - in fact, without picking it up it would be extremely difficult to tell the bones from the metal.  These larger monster models is where bones really shines and shows off its value to the gamer.

This was fun and easy to paint - just some metallic drybrushing over a dark blue basecoat - doesn't get easier than that.

Painting instructions for Brass Bull / Gorgon (used my Vallejo Game Color)...

Step 1: I'm using Stynylrez primer on the bones models - just slop it on and cover everything - it works great!
Step 2: Use Night Blue as a basecoat over the entire model
Step 3: Drybrush with Gunmetal Metal
Step 4: Drybrush highlights with Chainmail Silver

This is a bones model out of the kickstarter pile - so up goes the count...

Kickstarter paint total: 120 + 1 Bull = 121


Saturday, March 23, 2019

WizKids Shambling Mound - WZK73403


Wow, this is a big model!  Another fantastic "miniature" from the D&D Nolzur's Marvelous Miniatures line by WizKids.  They're just killing it with this amazing sculpt right from the pages of the 5e Monster Manual - it's nice to have licensed models.

This was a fun paint.  Basically every paint dropper which had the word green in it was used on this model - yellow-green, blue-green, brown-green, and green-green.  I would pick an origin point and would follow the vine along until the end point.  I figured that would give me a more interesting and dynamic figure than just a generic medium green.  A light brown to represent some sort of wood protrusions for teeth and then a dark red with medium red highlights for the leaves and the mushroom give it a bit of pop.  Added some white dots on the mushroom tops for that classic fantasy mushroom look.

I called it the "SHAMBLER" as trying to put on shambling mound was too many characters for the base.

As noted previously, WizKids should publish the sculptor.