Saturday, September 13, 2003

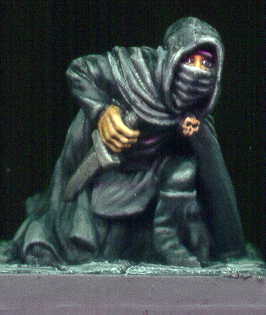
Reaper's Kneeling Assassin - 2519


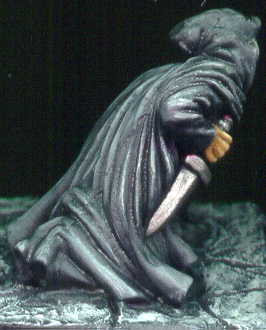
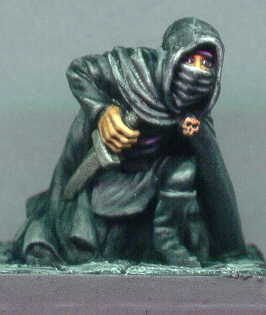
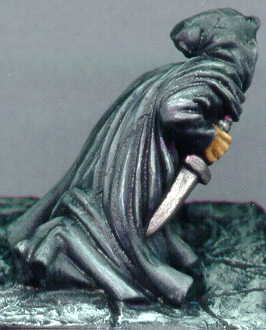
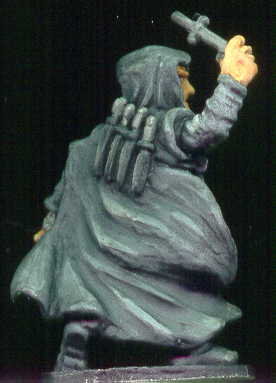
Kneeling Assassin is another gaming figure for my local rpg group. In this case I wanted to portray an assassin crouched hidden in the corner ready to spring his trap. When I scanned the image, I couldn't determine if the traditional black background or a lighter background brings out the detail better so I posted both. Enjoy.

Painting Instructions for Reaper Miniature's Kneeling Assassin:
Step 01: Undercoat model with Chaos Black primer
Step 02: Drybrush mix of 7:3 mix of Chaos Black to Codex Grey
Step 03: Use mix of 1:1 of Chaos Black to Codex Grey to base highlight
Step 04: Use mix of 1:2 of Chaos Black to Codex Grey to highlight
Step 05: Use 1:1 Fortress Grey to mix and highlight
Step 06: Use Fortress Grey for final highlight
Step 07: Use watered down Black Ink
Step 08: Use Bronzed Flesh on skin
Step 09: Use Flesh Wash on skin
Step 10: Use Bronzed Flesh on skin to highlight
Step 11: Use 1:1 mix of Elf Flesh to Bronzed Flesh on skin for highlight
Step 12: Use Boltgun Metal on sword
Step 13: Use Chainmail on sword to highlight
Step 14: Use Bleached Bone on skull pin
Step 15: Use Chestnut Ink on skull pin
Step 16: Use Bleached Bone on skull pin to highlight
Step 17: Drybrush Codex Grey on base
Step 18: Drybrush Fortress Grey on base
Step 19: Drybrush Skull White on base

Friday, September 12, 2003

Soldier & Swords Assassin - H008


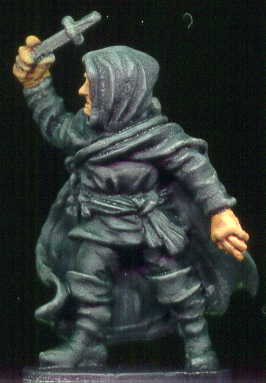
This figure is an Assassin from Soldiers & Swords Games. Don't know much about him - picked him up from a bargain bin. He was the test figure in shades of black for a Reaper Assasin.

Painting Instructions for Soldier & Swords Assassin:
Step 01: Undercoat model with Chaos Black primer
Step 02: Drybrush mix of 7:3 mix of Chaos Black to Codex Grey
Step 03: Use mix of 1:1 of Chaos Black to Codex Grey to base highlight
Step 04: Use mix of 1:2 of Chaos Black to Codex Grey to highlight
Step 05: Use 1:1 Fortress Grey to mix and highlight
Step 06: Use Fortress Grey for final highlight
Step 07: Use watered down Black Ink
Step 08: Use Bronzed Flesh on skin
Step 09: Use Flesh Wash on skin
Step 10: Use Bronzed Flesh on skin to highlight
Step 11: Use 1:1 mix of Elf Flesh to Bronzed Flesh on skin for highlight
Step 12: Use Boltgun Metal on knives

Sunday, August 31, 2003

Reaper's Faramere of Vestonia - 2086


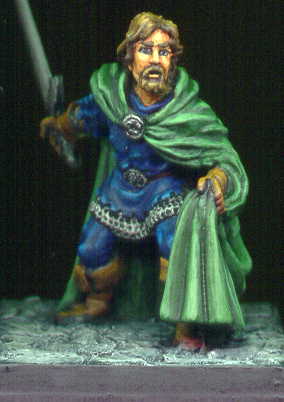
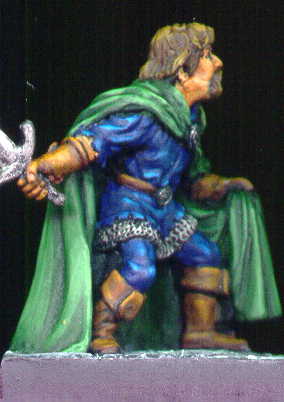
Faramere of Vestonia is another gaming figure for my local rpg group. I envision an old fighter, battling off a group of orcs which attacked him and his maiden daughter while on the road - just waiting to be rescued.

Painting Instructions for Reaper Miniature's Faramere:
Step 01: Undercoat model with black primer
Step 02: Use Dark Angels Green on cloak
Step 03: Use mix of Dark Angels Green and Snot Green on cloak
Step 04: Use Snot Green on cloak
Step 05: Use 3:1 mix of Snot Green and Rotting Flesh on cloak
Step 06: Use 2:1 mix of Snot Green and Rotting Flesh on cloak
Step 07: Use Bronzed Flesh on skin
Step 08: Use watered down Flesh Wash on skin
Step 09: Use Bronzed Flesh again on skin
Step 10: Use mix of Bronzed Flesh and Elf Flesh on skin
Step 11: Use Scorched Brown on hair
Step 12: Use Storm Blue on tunic and pants
Step 13: Use Regal Blue on tunic and pants
Step 14: Use mix of Regal Blue and Ultramarines Blue on tunic and pants
Step 15: Add Lightning Blue to mix on tunic and pants
Step 16: Use Lightning Blue for final highlights on tunic and pants
Step 17: Use Dark Flesh on leather
Step 18: Use Vermin Brown on leather
Step 19: Use Leprous Brown as final highlights on leather
Step 20: Drybrush Bestial Brown on hair
Step 21: Drybrush Snakebite Leather on hair
Step 22: Drybrush Bubonic Brown on hair
Step 23: Drybrush metal with Chainmail
Step 24: Highlight metal with Mithril Silver
Step 25: Drybrush base with Codex Grey
Step 26: Drybrush base with Fortress Grey
Step 27: Drybrush base with Skull White

Wednesday, August 27, 2003

Reaper's Assassin, Blue Orchid - 2588


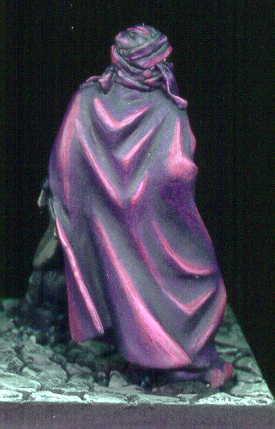
Assassin, Blue Orchid should be renamed Purple People Eater! I wanted something dark and the deep purple with black leather armor fit the picture in my mind. This figure was done to gaming standards for my local rpg group.

Painting Instructions for Reaper Miniature's Purple People Eater:
Step 01: Undercoat model with black primer
Step 02: Use Chaos Black and Liche Purple mix as basecoat on cloak
Step 03: Add more Liche Purple to mix on cloak
Step 04: Use Imperial Purple on cloak
Step 05: Use Warlock Purple for highlights on cloak
Step 06: Use Tentacle Pink as final highlights on cloak
Step 07: Use mix of Chaos Black and Codex Grey to highlight leather
Step 08: Use Codex Grey as final highlight on leather
Step 09: Use Boltgun metal on metal studs, bits, and swords
Step 10: Use Mithril Silver for highlights on swords
Step 11: Use Ice Blue on bottle
Step 12: Use Chaos Black on sides of base and rocks
Step 13: Drybrush Codex Grey on rocks
Step 14: Drybrush Fortress Grey on rocks
Step 15: Drybrush Skull White on rocks

Tuesday, August 19, 2003

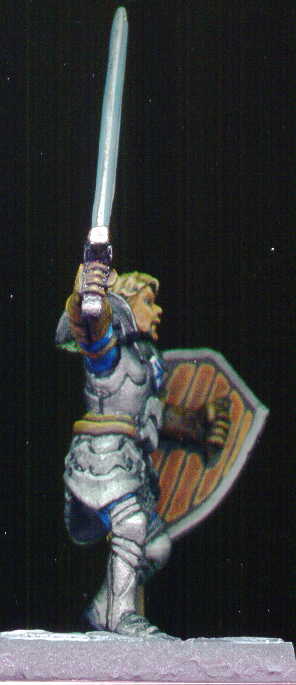
Reaper's Sparrowhawk, Paladin - 2600


Sparrowhawk the Paladin was a fig I picked after we kept bumping into a mighty Paladin in our local rpg. This was a quick paint for the game table. Time on this was about 6 hours during a night between travel for work and vacation. The metals were watered down and painted in layered highlights, just like any other paint. The back of the shield used the same technique as Windrunner the elf - above. The sword was an interesting experiment of mixing a color with a metallic. I wanted the sword to be brighter to give it a mystical appearance - the inner part was skull white with mithril silver and the outer parts was lightning blue with mithril silver. Then I did a wash of mithril silver to give it a shine. I'm somewhere between hating it and liking it and can't make up my mind if it works or not. The attempt was to give the idea it was a magic sword with it's own properties (a glow of white to blue to match the Paladin's colors) without going overboard.

Painting Instructions for Reaper Miniature's Sparrowhawk:
Step 01: Undercoat model with black primer
Step 02: Use Boltgun Metal - watered down then brush wiped
Step 03: Use Shadow Grey on shield
Step 04: Use Space Wolved Grey on shield
Step 05: Use Ghostly Grey on shield
Step 06: Use Skull White on shield as final highlight
Step 07: Use Midnight Blue on clothes and shield design
Step 08: Use Regal Blue on clothes and shield design
Step 09: Use Enhanted Blue on clothes and shield design
Step 10: Use Lightning Blue on clothes and shield design
Step 11: Use Ice Blue on clothes and shield design
Step 12: Use Scorched Brown on leather
Step 13: Use Bestial Brown on leather
Step 14: Use Snakebite Leather on leather
Step 15: Use Bubonic Brown on leather as final highlight
Step 16: Try something new - mix Skull White with Mithril Silver - inner sword
Step 17: Try something new - mix Lightning Blue with Mithril Silver - outer sword
Step 18: Use Mithril Silver - as a wash on sword
Step 19: Use Mithril Silver watered down as highlight on plate armor
Step 20: Use Dark Flesh on hair
Step 21: Drybrush Leprous Brown on hair
Step 22: Add Pallid Flesh to mix and drybrush on hair
Step 23: Add more Pallid Flesh on hair and drybrush - keep doing
Step 24: Use Bronzed Flesh on face
Step 25: Use watered down Flesh Wash on face
Step 26: Use Elf Flesh on face as highlights
Step 27: Use thick line of Vomit Brown on back of shield
Step 28: Use thin line of Bestial Brown on back of shield
Step 29: Use Chaos Black on base
Step 30: Drybrush Codex Grey on base
Step 31: Drybrush Fortress Grey on base
Step 32: Drybrush Skull White on base

Tuesday, July 29, 2003

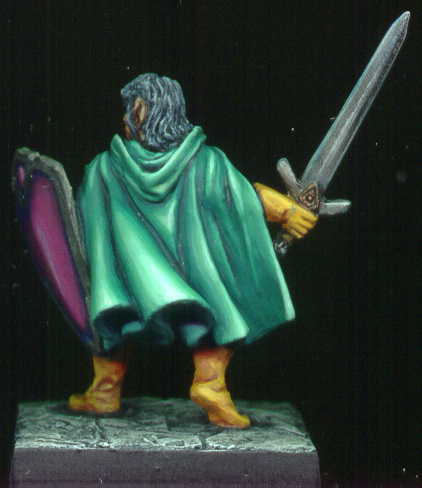
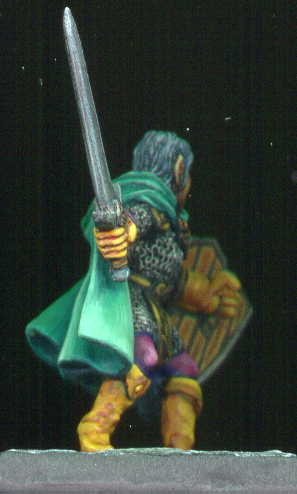
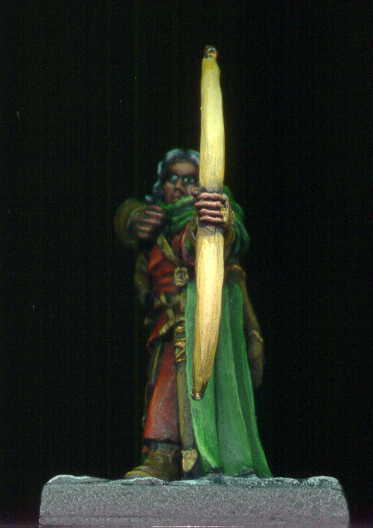
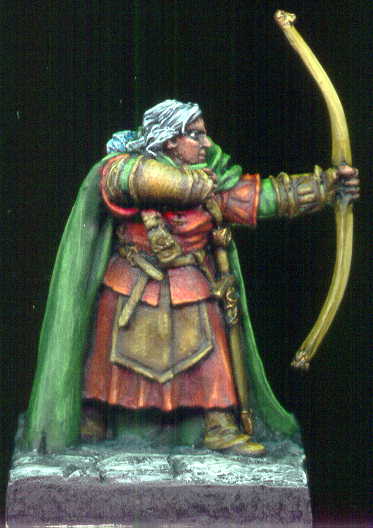
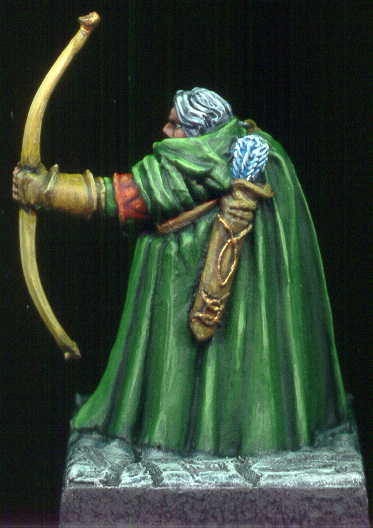
Reaper's Mellonir Windrunner - 2120


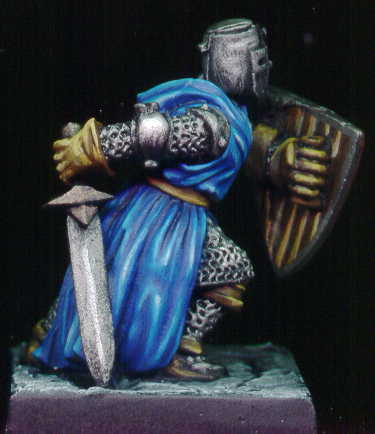
Mellonir Windrunner takes the concepts from the Templar Knight and applies them with just a bit more care - time on this was about 8 hours in total. Again the highlights are to white on the cloak. Not so on the other colors as I think it would take away from the overall appearance. However, they are do span a complete range from dark to light. The wooden shield was a new first - after viewing several other painted shields by well known painters, I approached this one differently. Instead of dark base with different colored lines as in the above Templar - I went with a dark brown base, then a thick light brown, then a medium brown within the light brown (see my painting instructions below). For comparisons - see the 2nd Templar pic or the 3rd Orc picture from below to get a view of the backside of shield and compare to the 2nd and 4th pic of Mellonir Windrunner.

Painting Instructions for Reaper Miniature's Windrunner:
Step 01: Undercoat model with Black primer
Step 02: Use Boltgun Metal on chainmail and sword
Step 03: Use Dark Flesh on face
Step 04: Use mix of Dark Flesh and Bronzed Flesh on face
Step 05: Add more Bronzed Flesh to mix on face
Step 06: Use Bronzed Flesh on face
Step 07: Use a more watered down Elf Flesh on face final highlights
Step 08: Use Scaly Green on cloak
Step 09: Use mix of Scaly Green and Jade Green on cloak
Step 10: Use Jade Green on cloak
Step 11: Use mix of Jade Green and Vile Green on cloak
Step 12: Use Vile Green on cloak
Step 13: Use mix of Vile Green and Skull White on cloak
Step 14: Add more Skull White to mix
Step 15: Use Skull White on cloak as final highlights
Step 16: Use Nauseating Blue on clothing and shield
Step 17: Use Liche Purple on clothing and shield
Step 18: Use Warlock Purple on clothing and shield
Step 19: Use mix of Warlock Purple and Tentacle Pink on clothing and shield
Step 20: Use more Tentacle Pink into mix
Step 21: Use Tentacle Pink on clothing and shield as final highlights
Step 22: Use Leprous Brown on gloves and boots
Step 23: Use wash of Chestnut Ink on gloves and boots
Step 24: Use mix of Leprous Brown and Golden Yellow on gloves and boots
Step 25: Add Skull White to mix for gloves and boots
Step 26: Add more Skull White to mix for gloves and boots final highlights
Step 27: Use Scorched Brown on leather
Step 28: Use Bestial Brown on leather
Step 29: Use mix of Snakebite Leather and Bubonic Brown on leather
Step 30: Use Bubonic Brown on leather as final highlights
Step 31: Use Scorched Brown on back of shield
Step 32: Use Vomit Brown for wide stripes on back of shield
Step 33: Use Bestial Brown to fill in wide stripes on back of shield
Step 34: Use Dwarf Bronze on metal clips
Step 35: Use Shining Gold to highlight metal clips
Step 36: Use Chainmail to highlight chainmail
Step 37: Use Mithril Silver to highlight chainmail and sword
Step 38: Wash sword with watered down Sky Blue Ink
Step 39: Drybrush Shadow Grey on hair
Step 40: Drybrush Space Wolves Grey on hair
Step 41: Drybrush Codex Grey on stone
Step 42: Drybrush Fortress Grey on stone
Step 43: Drybrush Skull White on stone
Thursday, July 10, 2003

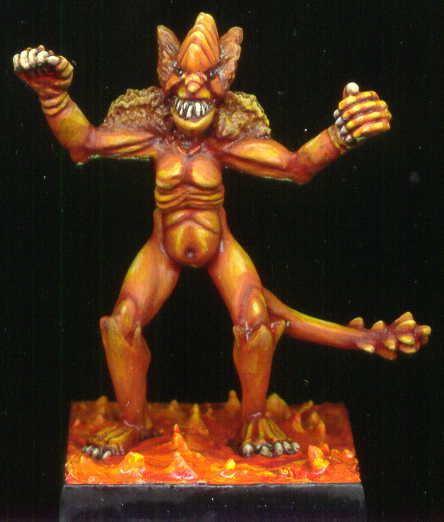
Ral Partha's Hamatula - 11-645


This figure is an AD&D 2nd Edition miniature from Ral Partha. This figure was painted as a study in red. To see what would happen and the characteristics of going from a deep red to a whitish yellow.

Painting Instructions for Ral Partha's Hamatula:
Step 01: Undercoat model with black primer
Step 02: Use Scab Red on skin
Step 03: Use Red Gore on skin
Step 04: Use Blood Red on skin
Step 05: Use Blazing Orange on skin
Step 06: Use Fiery Orange on skin
Step 07: Use Golden Yellow on skin
Step 08: Use Bad Moon Yellow on skin
Step 09: Use Skull White with a dab of Bad Moon Yellow on skin
Step 10: Use Vomit Brown on nails and teeth
Step 11: Use Flesh Wash between grooves of nails and teeth
Step 12: Use Bleached Bone on nails and teeth
Step 13: Use Skull White on nails and teeth
Step 14: Use Bad Moon Yellow on base
Step 15: Wash Fiery Orange on base
Step 16: Wash Blood Red on base
Step 17: Wash Scab Red on base

Wednesday, July 02, 2003

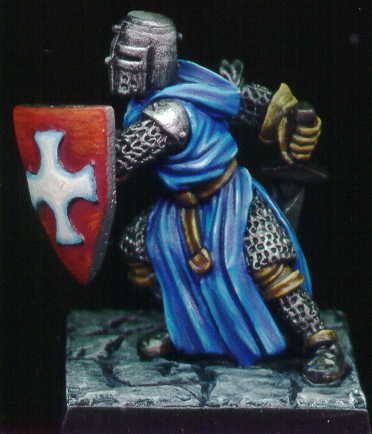
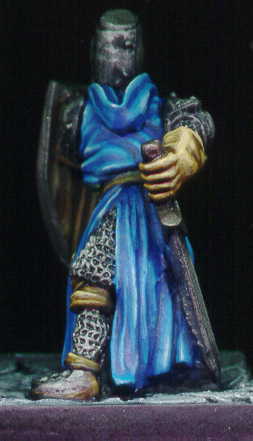
Reaper's Templar Knight - 2513


The Templar Knight I picked up after participating in a Living Greyhawk RPGA event. He's my Paladin. The painting of this figure has a couple of interesting notes. First, I completed this figure in a six hour span one evening - which by my standards is fast. My goal was to be quick (relatively speaking), like the below orcs, but at the same time to create a high quality paintjob that gets attention. Additionally, this was the first time I went to a white highlight on my primary color (the blue robes). I've always hesitated before and this was a tough barrier for me to get through. I really like the results, but I can see needs for further improvement.

Painting Instructions for Templar Knight:
Step 01: Undercoat model with Black primer
Step 02: Drybrush Boltgun Metal on all chainmail and metal bits
Step 03: Use Regal Blue on robes
Step 04: Use mix of Regal Blus and Ultramarines Blue on robes
Step 05: Use Ultramarines Blue on robes
Step 06: Use mix of Ultramarines Blue and Lightning Blue on robes
Step 07: Use Lightning Blue on robes
Step 08: Use Ice Blue on robes
Step 09: Use Skull White on robes
Step 10: Use Scab Red on shield
Step 11: Use Red Gore on shield
Step 12: Use Blood Red on shield
Step 13: Use Blazing Orange on shield
Step 14: Use Ice Blue on cross on shield
Step 15: Use mix of Ice Blue and Skull White on cross on shield
Step 16: Use Skull White on cross on shield
Step 17: Use Scorched Brown on leather bits
Step 18: Use Bestial Brown on leather bits
Step 19: Use Snakebite Leather on leather bits
Step 20: Use Buboninc Brown on leather bits
Step 21: Use mix of Bubonic Brown and Bleached Bone on leather bits
Step 22: Use Scorched Brown on back of shield
Step 23: Use Bestial Brown to make vertical lines on back of shield
Step 24: Use Vomit Brown to make vertical lines on back of shield
Step 25: Use Bleached Bone to make vertical line on back of shield
Step 26: Use Boltgun Metal around outside of and small line around back of shield
Step 27: Use Tin Bitz on sword pommel
Step 28: Mix Tin Bitx and Boltgun Metal for highlights on sword pommel
Step 29: Use Chainmail on metal highlights
Step 30: Use Mithril Silver as final metal highlights
Step 31: Drybrush Codex Grey on stone
Step 32: Drybrush Fortress Grey on stone
Step 33: Drybrush Skull White on stone

Tuesday, July 01, 2003

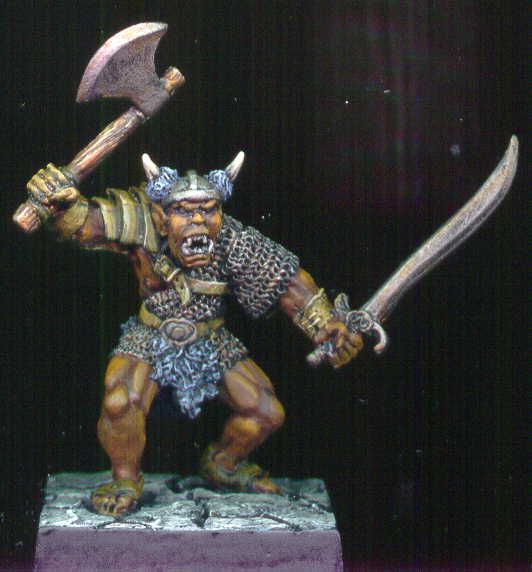
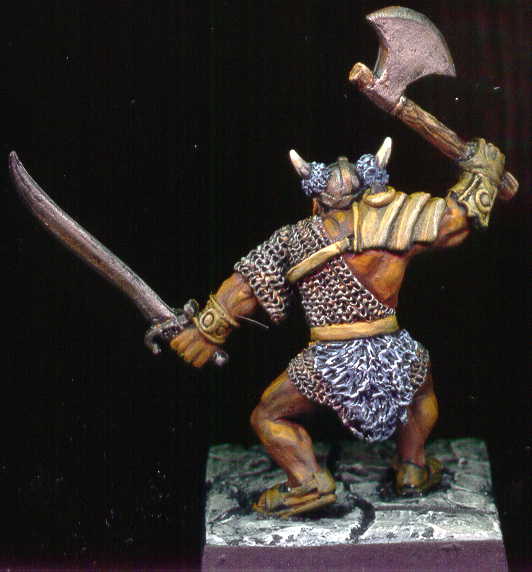
Reaper's Various Orcs


This group of orcs have been painted very quickly for a tabletop look. There are less transitional layers - more contrast. However, I didn't want to paint, wash, drybrush. I still wanted the figs to have a good looking paintjob. So the technique is layered, but without the normal blended look. I also skipped out on some detail work such as the eyes, belt buckles, and the like. The idea in the end is to go with a unified look that works on the tabletop.

Painting Instructions for Reaper Miniature's Orcs:
Step 01: Undercoat models with black primer
Step 02: Use Boltgun Metal on all metal bits
Step 03: Mix some Flesh Wash (2x), a bit of Red Ink a bit of Yellow Ink onto metal bits as a rust affect
Step 04: Lightly drybrush Boltgun Metal on all metal bits
Step 05: Use Dark Flesh on skin
Step 06: Use Vermin Brown to highlight skin
Step 07: Use Leprous Brown as final highlight on skin
Step 08: Use Scorched Brown on wood (including back of shields)
Step 09: Use Bestial Brown as drybrush on wood (line back of shields)
Step 10: Use Vomit Brown as drybrush on wood (highlight line back of shields)
Step 11: Use very light drybrush of Bleached Bone on wood
Step 12: Wash drybrush with Bestial Brown
Step 13: Use Snakebite Leather on leather (leave black lines)
Step 14: Use Bubonic Brown as heavy highlight on leather
Step 15: Use Scab Red on shield
Step 16: Highlight shield with Blood Red
Step 17: Use Boltgun Metal on metal bits of shield
Step 18: Use Chaos Black on sides of base and rocks
Step 19: Drybrush Codex Grey on rocks
Step 20: Drybrush Fortress Grey on rocks
Step 21: Drybrush Skull White on rocks

Wednesday, June 18, 2003

Games Workshop's Faragon Ranger


This is a Faragon Ranger model placed on a Reaper metal base for use in an rpg campaign.

Figure was painted using the layering techniques.

Painting Instructions for Games Workshop's Faragon Ranger:
Step 01: Use Chaos Black primer
Step 02: Use Dark Flesh for skin
Step 03: Use mix of Dark Flesh with Elf Flesh for skin for highlights
Step 04: Continue to add Elf Flesh to skin mix for final highlights
Step 05: Use mix of Chaos Black and Dark Angels Green on cloak
Step 06: Add more Dark Angels Green to mix on cloak
Step 07: Add Snot Green to mix on cloak but leave shadows
Step 08: Add Scorpion Green to mix on cloak and start highlights
Step 09: Add Bleached Bone to mix on cloak for final highlights
Step 10: Use Scab Red on clothes
Step 11: Use Red Gore on clothes - stay in shadows
Step 12: Use mix of Red Gore and Blood Red on clothes - start to highlight
Step 13: Use Blood Red on clothes - further highlighting
Step 14: Use mix of Blood Red and Golden Yellow - highlights
Step 15: Add more Golden Yellow and Bleached Bone to mix - final highlight
Step 16: Use Scorched Brown on leather
Step 17: Use Bestial Brown on leather
Step 18: Use Snakebite Leather on leather as highlights
Step 19: Use Bubonic Brown on leather as final highlights
Step 20: Use Snakebite Leather on bow
Step 21: Use Bubonic Brown on bow
Step 22: Use mix of Bubonic Brown and Bleached Bone as highlight on bow
Step 23: Use Bleached Bone as final highlight on bow
Step 24: Use Shining Gold on metal trim
Step 25: Use Codex Grey on arrow flights
Step 26: Drybrush Skull White on arrow flights
Step 27: Wash arrow flights with Sky Blue Ink
Step 28: Repeat drybrush of Skull White on arrow flights
Step 29: Use Shadow Grey on hair
Step 30: Drybrush Space Wolves Grey on hair
Step 31: Drybrush highlights on hair using Ghostly Grey
Step 32: Use Codex Grey on base
Step 33: Drybrush Fortress Grey on base
Step 34: Highligh drybrush Skull White on base

Saturday, April 26, 2003

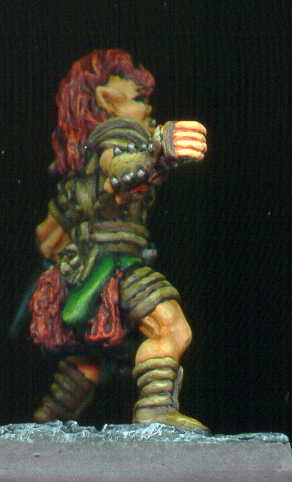
Reaper's Kang, Half Orc - 2514


It's been awhile since I've had a chance to paint and I needed a rogue half orc for an rpg. Reaper to the rescue! Kang, Half Orc is another great looking figure by Reaper. Since this is for an rpg - I placed him on the more traditional 1" square.

Although I completed him on a rainy Saturday, I chose to use the layering technique for two reason. A) I'm quite comfortable using the layering technique versus wet blend and it's been awhile since I've painted and B) I was also working on several honey-do projects in-between layers.

I've provided a left side and right side view but they are very distorted as the hands cause the figure to sit very far off the scanner glass and depth of field is too great. But, you can get an idea, so I have provided them as well as the front and back view.

Painting Instructions for Kang, Half Orc

Step 1: Undercoat model with Chaos Black
Step 2: Use Bronzed Flesh on skin
Step 3: Use watered down Flesh Wash (about 3 to 1) on skin
Step 4: Use Bronzed Flesh and start base highlights
Step 5: Mix Elf Flesh into the Bronzed Flesh for further highlights
Step 6: Add more Elf Flesh into mix for final highlights
Step 7: Use Scorched Brown on leather
Step 8: Use Bestial Brown on leather
Step 9: Use Snakebite Leather on leather
Step 10: Use Bubonic Brown as highlight on leather
Step 11: Use mix of Bubonic Brown and Bleached Bone on leather
Step 12: Use Chaos Black on metal bits on leather
Step 13: Use Boltgun Metal on metal bits on leather
Step 14: Use Boltgun Metal on short sword
Step 15: Water down Sky Blue ink - mix with a bit of Boltgun Metal on short sword
Step 16: Use Mithril Silver on highlights of short sword
Step 17: Use Dark Angels Green on loin cloth
Step 18: Use Snot Green on loin cloth
Step 19: Use Scorpion Green on loin cloth highlights
Step 20: Use Bilious Green on final loin cloth highlights
Step 21: Use Scab Red on hair
Step 22: Use Red Gore on hair
Step 23: Use Red Blood on hair highlights
Step 24: Drybrush Blazing Orange on hair for final highlights
Step 25: Use Pallid Flesh on eyes
Step 26: Use Vermin Brown for eyeballs
Step 27: Use Vermin Brown on teeth
Step 28: Use Bleached Bone on tips of teeth
Step 29: Use Chaos Black on base
Step 30: Drybrush base with Shadow Grey to Ghostly Grey