Sunday, March 21, 2004

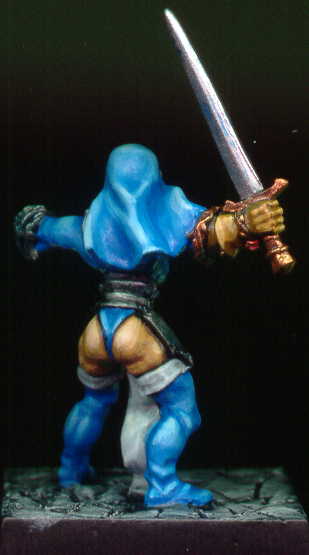
Reaper's Ghost with Sword - 2363


Last spirit for now - this one with a sword. Again a quick paint (about 2 hours) in the red range. The reds I always find difficult to work with. Used Golden Yellow as a highlight. Finished March 2004.

Painting Instructions for Ghost with Sword
Step 01: Undercoat model with black primer
Step 02: Use Scab Red on robe
Step 03: Use Red Gore on robe
Step 04: Use Blood Red on robe highlights
Step 05: Use Golden Yellow on robe final highlights
Step 06: Use Scorched Brown on bones
Step 07: Use Vomit Brown on bones
Step 08: Use Bleached Bone on bones
Step 09: Drybrush Boltgun Metal on sword
Step 10: Wash sword with mix of Flesh Wash and Yellow Ink
Step 11: Drybrush Codex Grey on base and hair
Step 12: Drybrush Fortress Grey on base and hair
Step 13: Drybrush Skull White on base and hair

Sunday, March 14, 2004

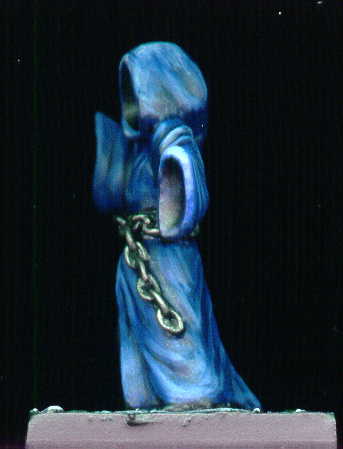
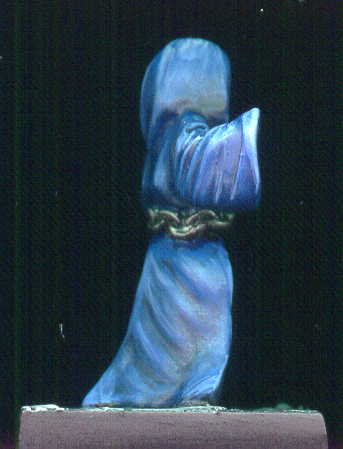
Reaper's Spirits - 2214


The first of two spirits in the pack. This was a fun, quick, and dirty job of layering from dark to light blue over a black basecoat. Finished March 2004.

Painting Instructions for Spirits#1
Step 01: Undercoat with black
Step 02: Use Regal Blue on robe
Step 03: Use mix of Regal Blue and Ultramarine Blue
Step 04: Use Ultramarine Blue
Step 05: Use mix of Ultramarine Blue and Skull White
Step 06: Add more Skull White to mix for final highlights
Step 07: Use Boltgun Metal on chain
Step 08: Drybrush Codex Grey on base
Step 09: Drybrush Fortress Grey on base
Step 10: Drybrush Skull White on base


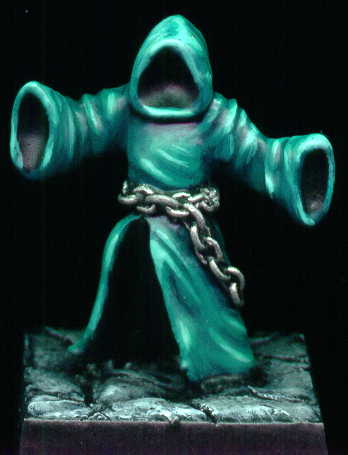
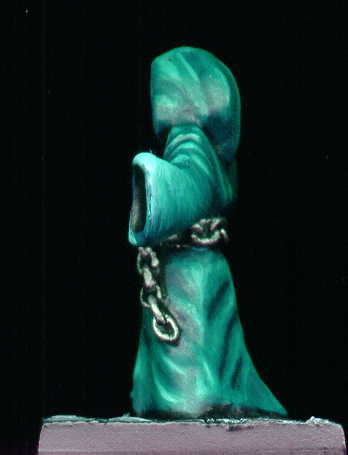
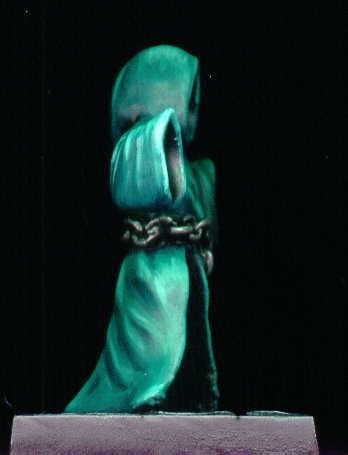
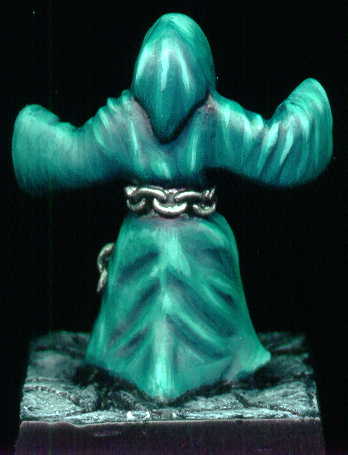
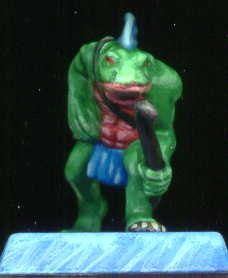
The second of two spirits in the pack. This was a fun, quick, and dirty job of layering from dark to light green over a black basecoat. Finished March 2004.


Painting Instructions for Spirit#2
Step 01: Undercoat model with black primer
Step 02: Use Scaly Green
Step 03: Use mix of Scaly Green and Jade Green
Step 04: Use Jade Green to start highlights
Step 05: Use mix of Jade Green and Vile Green for highlights
Step 06: Add Skull White to mix and highlight again
Step 07: Add another bit of Skull White to mix for final highlights
Step 08: Use Chainmail on chain
Step 09: Use Chaos Black on base
Step 10: Drybrush Codex Grey on base
Step 11: Drybrush Fortress Grey on base
Step 12: Drybrush Skull White on base

Sunday, February 22, 2004

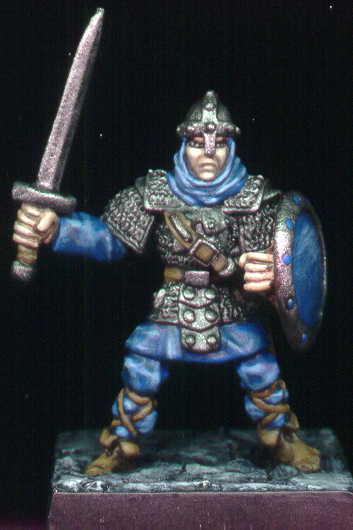
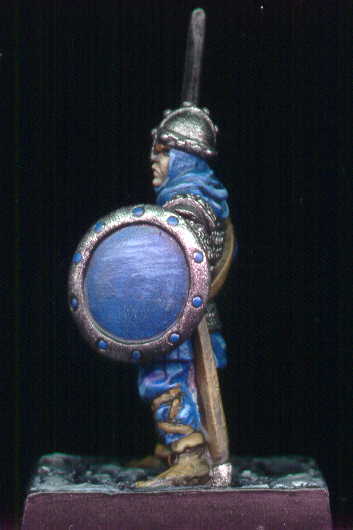
Reaper's Man at Arms - 6023


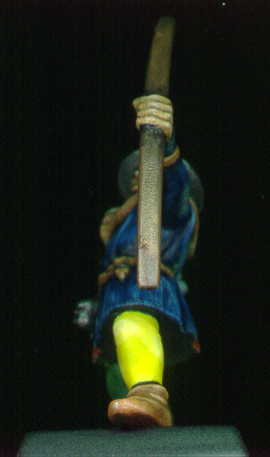
An example model for the painting class for kids. This was painted using Reaper paints and brushes and following the instructions in the learn to paint kit #1.

Finished February 2004.

Wednesday, February 04, 2004

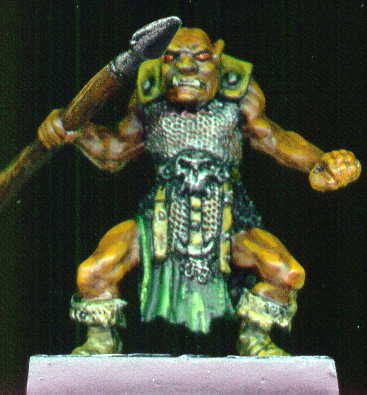
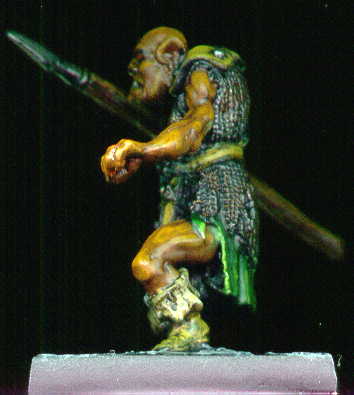
Reaper's Orcs - 6061


The following 2 models are from a 4 pack of orcs with spears produced by Reaper. Both had their spears in an upright position and their free hand by the knee. I did some bending and twisting to give it a bit of a dynamic look as long as one doesn't look too close.

The second model's spear makes it difficult to scan a right side - so no luck.

Finished February 2004.

Painting Instructions for Various Reaper Orcs
Step 01: Undercoat models with black primer
Step 02: Use Boltgun Metal on all metal bits
Step 03: Mix some Flesh Wash (2x), a bit of Red Ink a bit of Yellow Ink onto metal bits as a rust affect
Step 04: Lightly drybrush Boltgun Metal on all metal bits
Step 05: Use Dark Flesh on skin
Step 06: Use Vermin Brown to highlight skin
Step 07: Use Leprous Brown as final highlight on skin
Step 08: Use Scorched Brown on wood (including back of shields)
Step 09: Use Bestial Brown as drybrush on wood (line back of shields)
Step 10: Use Vomit Brown as drybrush on wood (highlight line back of shields)
Step 11: Use very light drybrush of Bleached Bone on wood
Step 12: Wash drybrush with Bestial Brown
Step 13: Use Snakebite Leather on leather (leave black lines)
Step 14: Use Bubonic Brown as heavy highlight on leather
Step 15: Use Scab Red on shield
Step 16: Highlight shield with Blood Red
Step 17: Use Boltgun Metal on metal bits of shield
Step 18: Use Chaos Black on sides of base and rocks
Step 19: Drybrush Codex Grey on rocks
Step 20: Drybrush Fortress Grey on rocks
Step 21: Drybrush Skull White on rocks

Sunday, February 01, 2004

Reaper's Bruce O'Hugh - 2271


The last of a batch of figures for the gaming group - this is Bruce - the highlander bard carrying nothing into battle other than his bagpipes!

This was quick and fun using two basic colors - green and red.

Finished February 2004.

Painting Instructions for Bruce O'Hugh
Step 01: Undercoat model with black primer
Step 02: Use mix of Dark Flesh and Dwarf Flesh on skin
Step 03: Add more Dwarf Flesh to mix on skin
Step 04: Use Dwarf Flesh on skin
Step 05: Use mix of Dwarf Flesh and Elf Flesh on skin
Step 06: Use Dark Angels Green on socks and scarf
Step 07: Use Snot Green on socks and scarf
Step 08: Use mix of Snot Green and Pallid Flesh on socks and scarf
Step 09: Use Scab Red on skirt
Step 10: Use Red Gore on skirt
Step 11: Use Blood Red on skirt
Step 12: Use Bestial Brown on shoes, belt, and bagpipes
Step 13: Use Bubonic Brown on bagpipes
Step 14: Use Snakebite Leather on shoes and belt
Step 15: Use Bubonic Brown on shoes and belt
Step 16: Use Boltgun Metal on band
Step 17: Use Chainmail on band
Step 18: Use Mithril Silver on band
Step 19: Use Scorched Brown on hair
Step 20: Use Scab Red on hair
Step 21: Use Blood Red on hair
Step 22: Drybrush Codex Grey on base
Step 23: Drybrush Fortress Grey on base
Step 24: Drybrush Skull White on base

Saturday, January 31, 2004

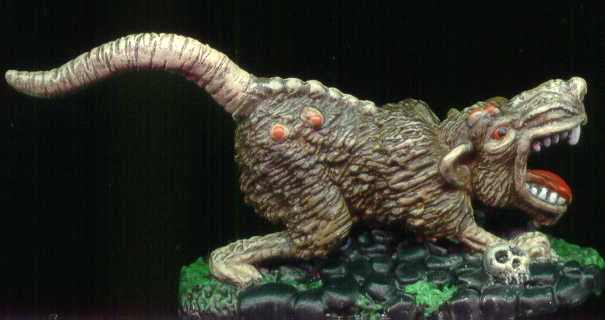
Reaper's Barrow Rat - 2544


An example model for the painting class for kids. This was painted using Reaper paints and brushes and following the instructions in the learn to paint kit #1.

Finished January 2004.

Friday, January 30, 2004

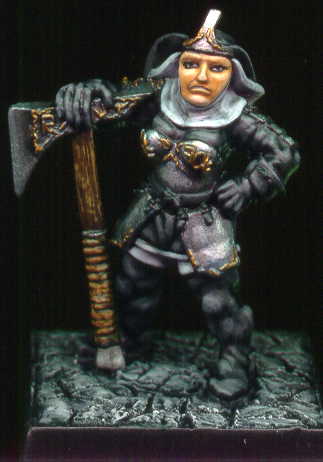
Reaper's Mother Hilda - 2418


Another fun model for the gaming group. Completed over a two night stint with a couple hours each night - she really came together quickly.

Finished January 2004.

Painting Instructions for Mother Hilda
Step 01: Undercoat model with black primer
Step 02: Use Boltgun Metal on armor and axe
Step 03: Use Chainmail on armor and axe
Step 04: Use a wash of Sky Blue Ink on armor and axe
Step 05: Use Mithril Silver for highlights on armor and axe
Step 06: Use Shining Gold on runes and patterns
Step 07: Use Space Wolves Grey on hood and top of boots / trim
Step 08: Use wash of Black Ink on hood and top of boots / trim
Step 09: Use Space Wolves Grey to highlight hood and top of boots / trim
Step 10: Use Skull White for final highlight on hood and top of boots / trim
Step 11: Use mix of Dark Flesh and Bronzed Flesh on skin
Step 12: Use Bronzed Flesh on skin
Step 13: Use Elf Flesh on skin
Step 14: Use Pallid Flesh on skin
Step 15: Use mix of Chaos Black and Codex Grey on clothing
Step 16: Use another drop of Codex Grey to mix on clothing
Step 17: Use a drop of Fortress Grey to mix on clothing
Step 18: Use Scorched Brown on wood shaft
Step 19: Use Bestial Brown on wood shaft
Step 20: Use Vomit Brown on wood shaft
Step 21: Use Snakebite Leather on handle
Step 22: Use Bleached Bone on handle
Step 23: Use wash of Chestnut Ink on shaft
Step 24: Drybrush Codex Grey on base
Step 25: Drybrush Fortress Grey on base
Step 26: Drybrush Skull White on base

Sunday, January 18, 2004

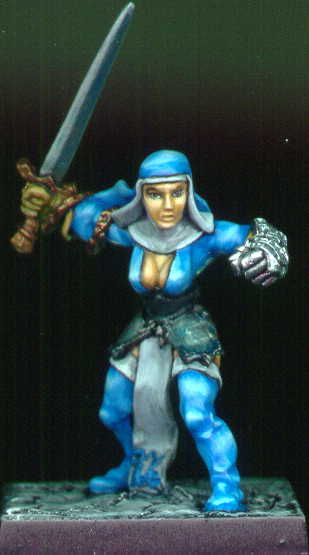
Reaper's Sister Candice, Battle Nun - 2403


Every now and then something comes out a bit better than expected and I think this was one of them. Originally starting off as an experiment using Vallejo brand paints (the blue and white). The end result I'm quite pleased with - time was good as well - about 5 hours.

Painting Instructions for Reaper Miniature's Sister Candice, Battle Nun:
Step 01: Undercoat model with black primer
Step 02: Use Vallejo Magic Blue on clothing
Step 03: Use mix of Vallejo Magic Blue and Vallejo Skull White on clothing
Step 04: Continue to add more Vallejo Skull White to mix and repeat
Step 05: Use Space Wolves Grey on hood and top of boots
Step 06: Use careful wash of Black Ink on hood and top of boots
Step 07: Use Space Wolved Grey to re-hight hood and top of boots
Step 08: Use Skull White for final highlight on hood and top of boots
Step 09: Use mix of Dark Flesh and Bronzed Flesh on skin
Step 10: Use Bronzed Flesh on skin
Step 11: Use Elf Flesh on skin
Step 12: Use Pallid Flesh on skin
Step 13: Use Snakebite Leather on the gloves
Step 14: Use Vomit Brown on the gloves
Step 15: Use Botlgun Metal on armor
Step 16: Use Chainmail on armor
Step 17: Use a wash of Sky Blue Ink on armor
Step 18: Use Mithril Silver on armor
Step 19: Use Dwarf Bronze on sword handle and chain
Step 20: Use a wash of Chestnut Ink on sword handle and chain
Step 21: Use Dwarf Bronze on sword handle and chain for highlights
Step 22: Drybrush Codex Grey on base
Step 23: Drybrush Fortress Grey on base
Step 24: Drybrush Skull White on base

Saturday, January 17, 2004

Games Workshop's Skink


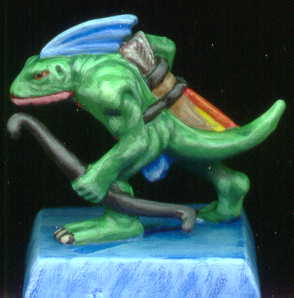
This Games Workshop Skink was painted with Reaper pro-paints as test.

I worked up a practice skink for teaching a paint class to kids using Reaper Pro-Paints. The base was a bit of fun copied from the house painter at Dream Wizards.

Painting Instructions for Skink (using Reaper Pro-Paints):
Step 01: Undercoat model with white primer
Step 02: Use Dragon Blue on fin and loincloth
Step 03: Use mix of Dragon White and Dragon Blue on fin and loincloth
Step 04: Use mix 2/3 Dragon White and 1/3 Dragon Blue on fin and loincloth
Step 05: Use mix 3/4 Dragon White and 1/4 Dragon Blue on fin and loincloth
Step 06: Use Kilt Green on body
Step 07: Use Emerald on body
Step 08: Use mix of 2/3 Emerald and 1/3 Dragon White
Step 09: Use mix of 1/2 Emerald and 1/2 Dragon White
Step 10: Use Blood Red on underbelly
Step 11: Use 1/2 Dragon White and 1/2 Blood Red on underbelly
Step 12: Use 2/3 Dragon White and 1/3 Blood Red on underbelly
Step 13: Use Woodland Brown on quiver
Step 14: Use mix of Dragon White and Woodland Brown on quiver
Step 15: Use Walnut on straps, bow, and toenails
Step 16: Use mix of Dragon White and Walnut on straps and bow
Step 17: Use Caucasion on toes

Saturday, January 10, 2004

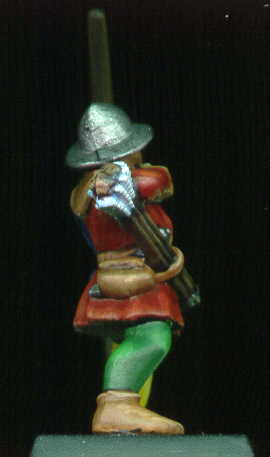
Games Workshop's Archer


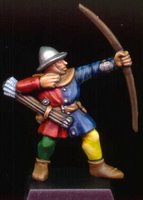
The archer is a test using Reaper Pro-Paints for a class I'm teaching to elementary school age children. In the classroom we are using the paint-kits #1 & #2 by Reaper Miniatures.

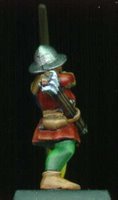
I happened to have a bunch of Games Workshop Brettonian archers on the shelf which I picked up from e-bay cheap. So one of them became my study. I used 16 out of the 17 pots of Reaper paint in my possession.

Painting Instructions for Archer:
Step 01: Undercoat model with grey
Step 02: Use Dragon Black to outline all boundaries and metal
Step 03: Use Ruddy Flesh on face and hands
Step 04: Use watered down Flesh Wash on face and hands
Step 05: Use Caucasion as highlights on face and hands
Step 06: Used Oil Leather on all leather
Step 07: Use a wash of Walnut on all leather
Step 08: Used Oil Leather mixed with Caucasion on all leather
Step 09: Used more Caucasion into mix as highlights on all leather
Step 10: Use Breonne Navy on half of jacket
Step 11: Use mix of Breonne Navy and Dragon Blue on half of jacket
Step 12: Use Dragon Blue on jacket
Step 13: Use mix of Linen White and Dragon Blue as highlights on jacket
Step 14: Use Blood Red on half of jacket
Step 15: Use Firehawk on half of jacket
Step 16: Use mix of Sunlight and Firehawk on half of jacket
Step 17: Use Kilt Green on half of pants
Step 18: Use mix of Emerald and Kilt Green on half of pants
Step 19: Use more Emerald into mix as highlights on half of pants
Step 20: Use Sunlight on half of pants
Step 21: Use mix of Dragon White and Sunlight on half of pants
Step 22: Use more Dragon White into mix as highlights on half of pants
Step 23: Use Walnut on bow and arrow shafts
Step 24: Use mix of Woodland Brown and Walnut on bow and arrow shafts
Step 25: Use more Woodland Brown to mix on bow and arrow shafts
Step 26: Use Woodland Brown on bow and arrow shafts
Step 27: Use Linen White on arrow flights
Step 28: Use much watered down Dragon Blue on arrow flights
Step 29: Use Dragon White on arrow flights
Step 30: Use Truesilver on metal bits
Step 31: Use Dragon Black on base

Monday, January 05, 2004

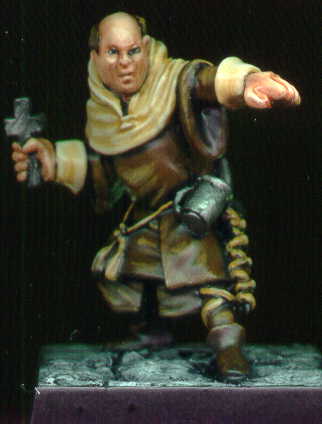
Reaper's Jon Otterman - 2349


My first miniature for the 2004 painting challenge. Personal goal will be about two a week for a year total of 100 figs. 99 remaining.

Another great Reaper fig - color scheme basic using GW's browns.

Painting Instructions for Jon Otterman:
Step 01: Undercoat model with Chaos Black
Step 02: Use Dwarf Flesh for face and hands
Step 03: Use watered down Flesh Wash on face and hands for shadows
Step 04: Use Dwarf Flesh on face and hands again
Step 05: Use 1/2 Elf Flesh to 1/2 Dwarf Flesh on face and hands as highlight
Step 06: Use 1/3 Pallid Flesh, 1/3 Elf Flesh, and 1/3 Dwarf Flesh for final highlight on face and hands
Step 07: Use Vomit Brown on hood and cuffs
Step 08: Use 1/2 Bleached Bone and 1/2 Vomit Brown on hood and cuffs
Step 09: Use Bleached Bone on hood and cuffs
Step 10: Use 1/2 Bleached Bone and 1/2 Skull White on hood and cuffs
Step 11: Use Scorched Brown on robe
Step 12: Use Bestial Brown on robe
Step 13: Use Bubonic Brown on robe
Step 14: Use a watered down wash of Scorched Brown on robe to darken it
Step 15: Use Vomit Brown on ropes and straps
Step 16: Use Bleached Bone on ropes and straps
Step 17: Use Boltgun Metal on cross, mug, and sword
Step 18: Use Mithril Silver on cross, mug, and sword
Step 19: Drybrush Codex Grey on base
Step 20: Drybrush Fortress Grey on base
Step 21: Drybrush Skull White on base

Tuesday, December 23, 2003

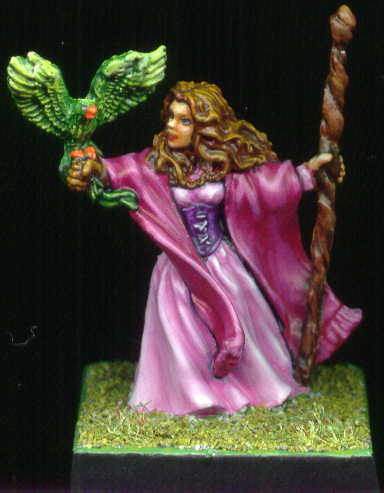
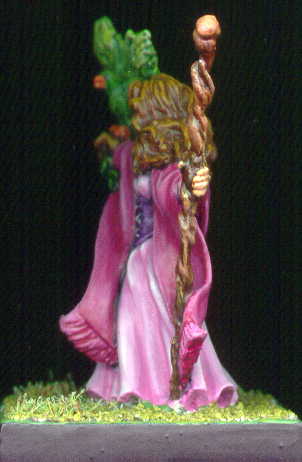
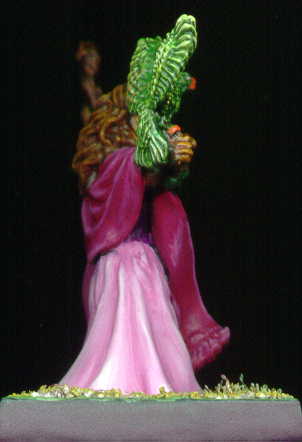
Reaper's Catherine O'Mannon - 2344


First, I started off with a basic color scheme according to the color wheel (and kept to it). Then, we have another painting experiment - instead of going through the pre-selected paint pots for shade and highlight - I started at the darkest color and kept adding white to the mix until I was happy. This had an affect of keeping the original color as the dominant tone.

Painting Instructions for Reaper Miniature's Catherine O'Mannon:
Step 01: Undercoat model with white primer
Step 02: Use Chaos Black to outline all joints
Step 03: Use Bronzed Flesh on face
Step 04: Use Warlock Purple on scarf
Step 05: Use Tentacle Pink on dress
Step 06: Use Liche Purple on girdle thingy
Step 07: Use Dark Angels Green on bird
Step 08: Use Dark Flesh on glove hand and hair
Step 09: Use watered down Flesh Wash on face
Step 10: Use Bronzed Flesh on face
Step 11: Use Elf Flesh on face
Step 12: Use Pallid Flesh on face
Step 13: Use 2/3 Warlock Purple to 1/3 Skull White on scarf
Step 14: Use 1/2 Warlock Purple to 1/2 Skull White on scarf
Step 15: Use 1/3 Warlock Purple to 2/3 Skull White on scarf
Step 16: Use 2/3 Tentacle Pink to 1/3 Skull White on dress
Step 17: Use 1/2 Tentacle Pink to 1/2 Skull white on dress
Step 18: Use 1/3 Tentacle Pink to 2/3 Skull White on dress
Step 19: Use Skull White on dress
Step 20: Use Liche Purple with traces of Skull White on girdle thingy - repeat
Step 21: Drybrush Snot Green on bird
Step 22: Drybrush Scorpion Green on bird
Step 23: Drybrush Bilious Green on bird (add a bit of Skull White and repeat)
Step 24: Drybrush Vermin Brown on hair
Step 25: Drybrush Leprous Brown on hair
Step 26: Used Scorched Brown staff
Step 27: Use Goblin Green on base
Step 28: Drybrush Camo Green on base